Fixing Skirting Boards with Nails and Adhesive
If you’re wondering how to fix skirting boards then you’ve come to the right place. Our guide here is designed to help you get the very best out of your skirting when fitting. Whilst we do always recommend hiring professionals to fit your for you, it is possible to do it yourself. Read on to find out how.
There are several common methods that are used when fitting skirting. It’s highly recommended that you follow these guidelines as it will ensure your skirting is fixed in place properly and will therefore last much longer.
The easiest and most popular method for fixing skirting boards in place is to use a combination of a grab adhesive with nails.
Our video guide below takes you through the process and outlines how you can fix skirting board for yourself (note that it assumes skirting is pre-cut to size):
Step 1: Ensure Your Skirting Fits
Check your skirting has been cut to the correct length by physically holding it up against the section of the wall you are fitting it to. If it does not fit, then address this before proceeding with fixing your skirting boards on the walls of your home.
Step 2: Apply Adhesive
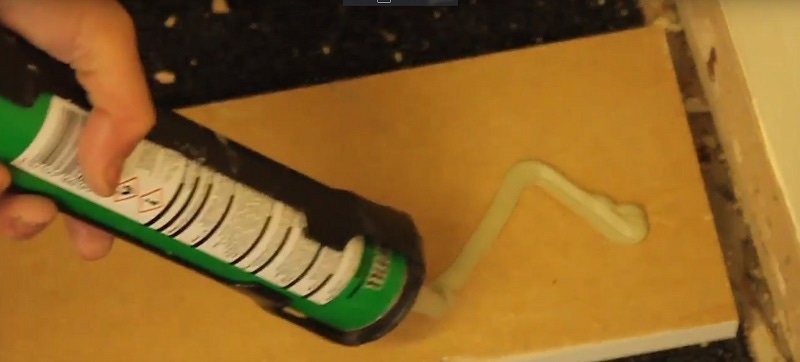
When you are happy that your skirting board will fit then lay it on its back and apply the adhesive. The best way in which to do this is by following a zig-zag pattern as this ensures optimal coverage through a continuous ‘beading’ (line of glue). One tube of adhesive typically covers 10 meters of skirting and we highly recommend using Gripfill, but other brands are available.
Step 3: Lift Into Position
Once the adhesive has been applied correctly you are in a position to place the skirting onto the wall. Be sure to take extra care here and keep the skirting straight using a spirit level if needed. Hold the skirting in place for a number of minutes (see the manufacturer’s instructions for the exact length of time).
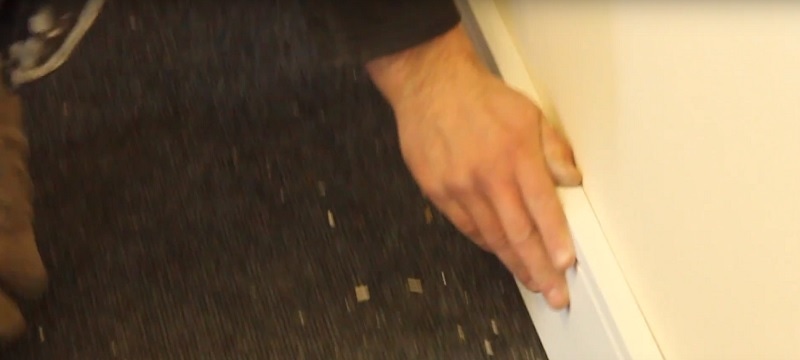
Step 4: Use A Nail Gun To Fix The Skirting
The next step is to use a nail gun at regular intervals along the skirting that is not in place. Using a nail gun is the most effective way for securing the skirting and provides the best overall finish. When using a nail gun it is important to factor in any possible cables that may be hidden behind the wall. If you have any doubts then please consult a professional.
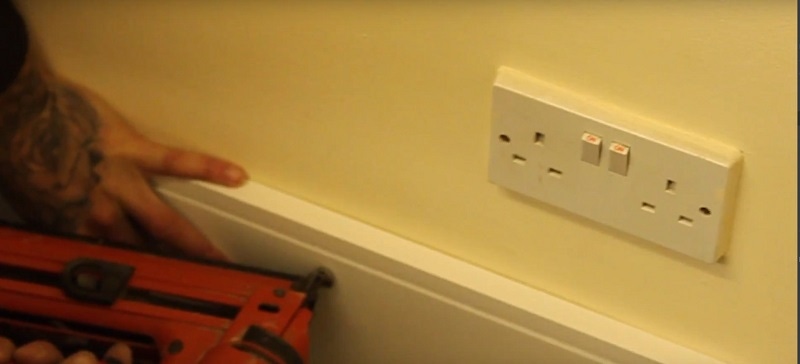
Step 5: Dust The Skirting Off
Once the nails are in place along the length of the skirting you will need to make sure they are neat and any splinters have been removed. Dusting off any other debris is also a good idea at this stage.
Step 6: Apply Filler if Needed
The final stage of fixing skirting board using adhesive and nails is to apply filler to any marks left by the nails. This ensures a smooth and professional finish and will be much easier to decorate further down the line.
About the Author
Kieron Miller is the Managing Director of Skirting 4 U and has been working in the skirting board and online retail industry since 2012. Kieron has been using his extensive product knowledge and problem-solving experience to help both trade and private consumers all over the country find the perfect skirting board products for their projects. He continues to innovate new solutions and product ideas as the market continues to grow.
We also offer a host of other products such as architrave, picture rails and dado rails. Be sure to contact our team of experts today for all your interior needs.
Related products
-
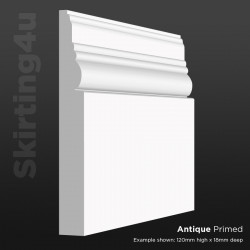
Antique MDF Skirting Board
Price: £0.00The Antique Skirting Board is very traditional in its styling, and... -
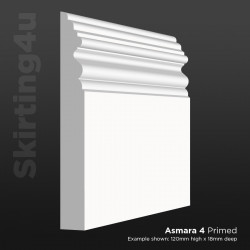
Asmara 4 MDF Skirting Board
Price: £0.00The Asmara 4 Skirting Board is an intricate homage to classical period... -
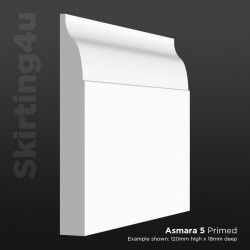
Asmara 5 MDF Skirting Board
Price: £0.00The Asmara 5 Skirting Board seamlessly brings together elegance and... -
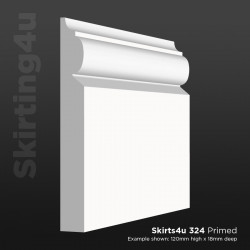
Skirt4u 324 MDF Skirting Board
Price: £0.00The design of our S4U 324 profile is based upon the ever-popular Torus... -
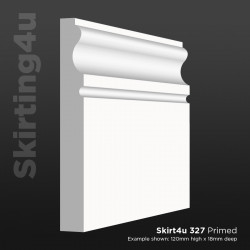
Skirt4u 327 MDF Skirting Board
Price: £0.00The 327 design is something of a departure from traditional skirting board... -
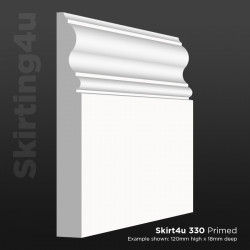
Skirt4u 330 MDF Skirting Board
Price: £0.00Our 330 skirting board brings together the best elements of our 327 and 324... -
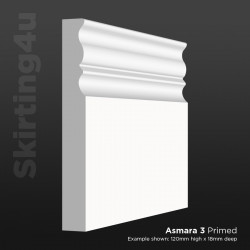
Asmara 3 MDF Skirting Board
Price: £0.00The Asmara 3 is the perfect statement skirting board design. Extremely bold... -
Bullnose MDF Skirting Board
Price: £0.00Bullnose Skirting is widely used by both trade professionals and private... -
Bullnose Groove MDF Skirting Board
Price: £0.00Our Bullnose Groove Skirting Board is a modern profile that is a great... -
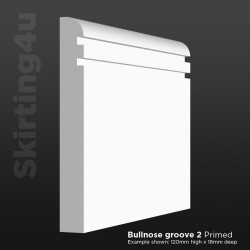
Bullnose Groove 2 MDF Skirting Board
Price: £0.00Our Bullnose Groove 2 Skirting Board is a modern take on the classic... -
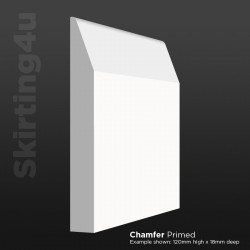
Chamfer MDF Skirting Board
Price: £0.00Chamfer skirting remains as popular today as ever. The simplicity of the... -
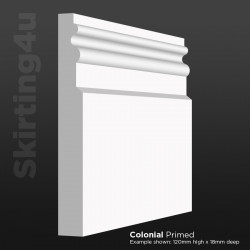
Colonial MDF Skirting Board
Price: £0.00Our Colonial Skirting Board is a replica of a design that was common in the... -
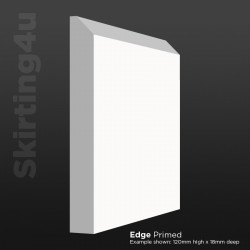
Edge MDF Skirting Board
Price: £0.00The Edge Skirting Board is from the same ‘family’ of designs the Chamfer... -
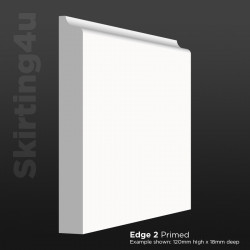
Edge 2 MDF Skirting Board
Price: £0.00Our Edge 2 Skirting Board (sometimes referred to as ‘scotia’) is a minimal... -
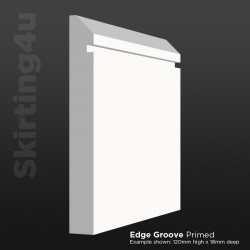
Edge Groove MDF Skirting Board
Price: £0.00The Edge Groove Skirting Board is the regular Edge design with the addition... -
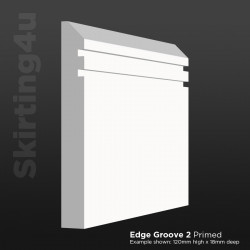
Edge Groove 2 MDF Skirting Board
Price: £0.00The Edge Groove 2 is a skirting board design that brings together the most... -
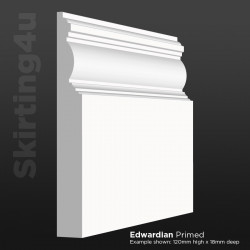
Edwardian MDF Skirting Board
Price: £0.00Our Edwardian Skirting Board design is an homage to styles widely used in... -
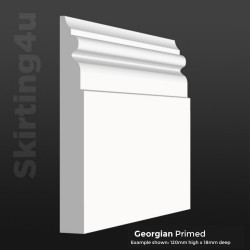
Georgian MDF Skirting Board
Price: £0.00Our Georgian Skirting Board is inspired by interior moulding designs used... -
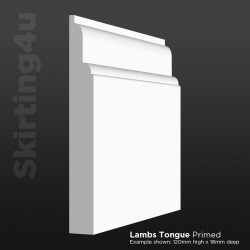
MDF Lambs Tongue Skirting Board
Price: £0.00The Lambs Tongue Skirting Board is a widely-known style and is something of... -
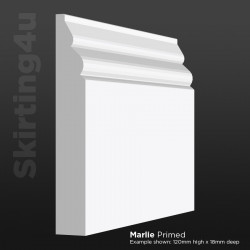
Marlie MDF Skirting Board
Price: £0.00Marlie is a skirting board design that is exclusive to Skirting 4 U. It is... -
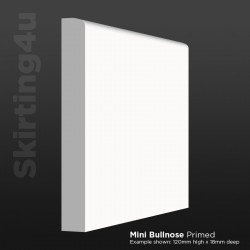
Mini Bullnose MDF Skirting Board
Price: £0.00Mini Bullnose skirting board is sometimes referred to as ‘Pencil Round’. It... -
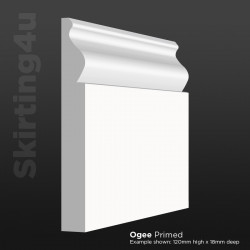
Ogee MDF Skirting Board
Price: £0.00Ogee skirting board has really stood the test of time and remains a firm... -
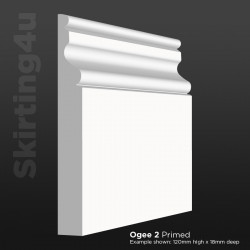
Ogee 2 MDF Skirting Board
Price: £0.00Ogee 2 skirting board has been introduced to offer an alternative to the... -
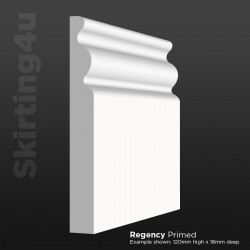
Regency MDF Skirting Board
Price: £0.00Regency skirting board is not too dissimilar to the Ogee style in terms of... -
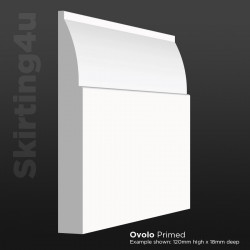
Ovolo MDF Skirting Board
Price: £0.00Ovolo skirting board is another profile that is widely known and sought... -
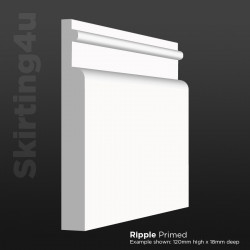
Ripple MDF Skirting Board
Price: £0.00Our Ripple skirting board is very different to almost all other skirting in... -
Ripple 2 MDF Skirting Board
Price: £0.00The Ripple 2 is very much a statement moulding. Being extremely bold in its... -
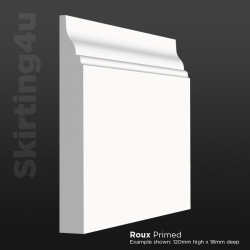
Roux MDF Skirting Board
Price: £0.00Roux is a skirting board design that is exclusive to Skirting 4 U. Since it... -
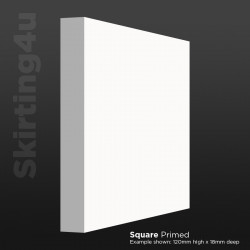
Square MDF Skirting Board
Price: £0.00Square skirting board continues to be hugely popular with both private and... -
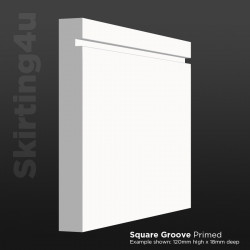
Square Groove MDF Skirting Board
Price: £0.00Square Groove skirting board is another modern profile that has remained... -
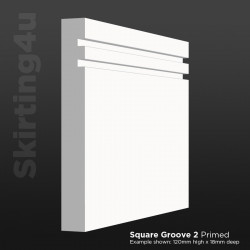
Square Groove 2 MDF Skirting Board
Price: £0.00Square Groove 2 skirting board is by far and away the most popular modern... -
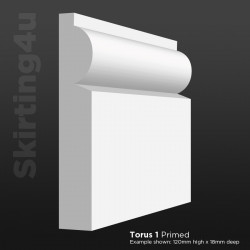
Torus 1 MDF Skirting Board
Price: £0.00Our Torus skirting board is an absolute classic MDF moulding design.... -
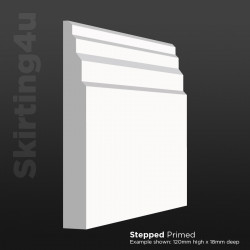
Stepped MDF Skirting Board
Price: £0.00Stepped skirting board is a visually striking design that is a great choice... -
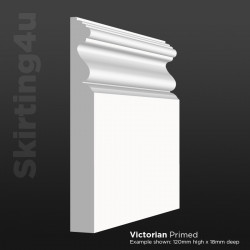
Victorian MDF Skirting Board
Price: £0.00Our Victorian skirting board design is manufactured to sympathetically... -
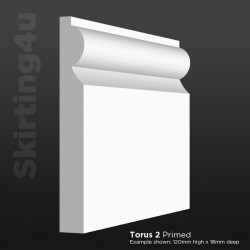
Torus 2 MDF Skirting Board
Price: £0.00Torus skirting boards are by far the most commonly purchased profile we... -
Victorian 2 MDF Skirting Board
Price: £0.00Our Victorian 2 profile is a second variation of a skirting board design... -
Windsor MDF Skirting Board
Price: £0.00Windsor Skirting Board is one of our more exclusive profiles. It is popular... -
Antique 2 MDF Skirting Board
Price: £0.00The Antique 2 Skirting Board profile is a less complex version of our...
Related posts
-
 How to Measure and Cut a Skirting Board for an Internal Wall Joint by Bisecting
01/10/201839032 viewsIn this guide, we will showcase how to measure and cut skirting board for an internal wall joint by bisecting an angle.Read more
 -
 How to Fit Architrave When the Door Frame is Close to the Wall
07/12/201837859 viewsSometimes internal doors are so close to adjacent walls that fitting architrave is difficult. This tutorial will...Read more
 -
 How to join two pieces of skirting board together on a flat wall
10/23/201740903 viewsA tutorial showing how to join two pieces of skirting board together on a flat wall.Read more
 -
 Step by Step Guide - How to Remove Skirting Board and Architrave
03/29/201739329 viewsA video and written tutorial to show how to remove a skirting board.Read more
 -
 How to Join Square Groove Skirting Board and Architrave
05/08/201815981 viewsOne of the foremost attractions of the square groove/square groove 2 profiles is that the can be fitted so that the...Read more


