Your basket
There are no more items in your basket
Please call us on 01922 451 689
Opening Hours Mon-Fri 8:30AM - 5:00PM

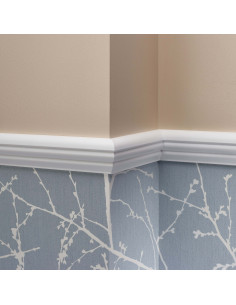
How to Fit a Dado Rail
In this guide, we will showcase how to fit a dado rail. We have included a step by step guide and a video below:
Installing dado or chair rail is a very similar process to fitting picture

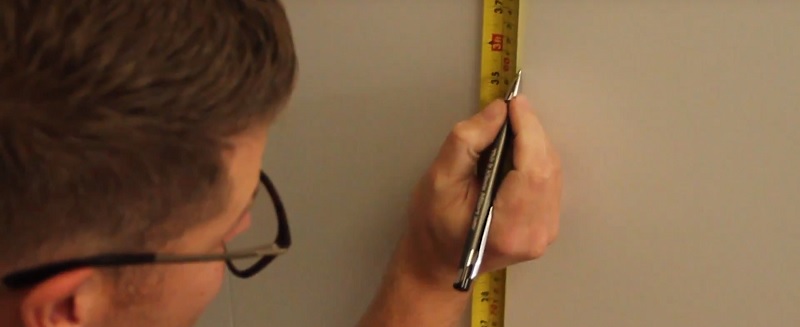
To start, you need to create a mark on the wall at the height you want the dado rail to sit. Traditionally, this would be around 900mm up from the floor. Recently, dado rail has become more of a design feature rather than a functional moulding (originally it was used as a way of protecting the plaster from damage by chairs and other furniture). Because of this, you may consider positioning the dado either a third or half the total height of the wall, depending on what you feel would look best in your room.
When you have decided where the dado rail is to be located, use a tape measure and pencil to mark on the wall at the chosen height.
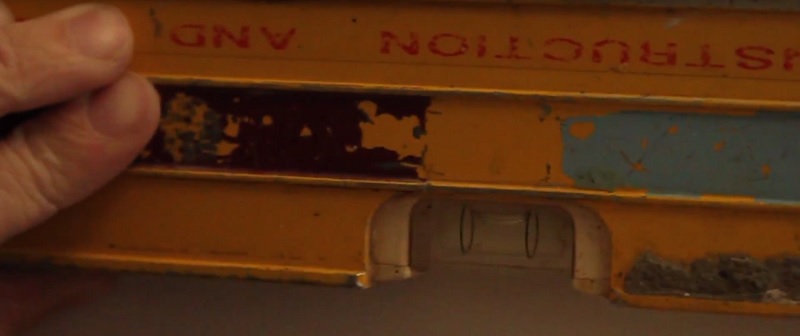
Next, hold your spirit level up to this mark ensuring the ‘bubble’ is centred, and create further markings at regular intervals along the spirit level. Repeat this process to mark out the entire wall.
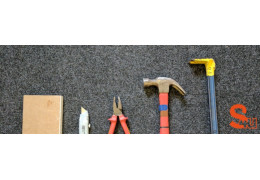
Once the wall has been marked out, you will now use a chalk line to make the dado rail position very clear. At one end of the wall, use a hammer to fix a nail in the position where your pencil marking is. Affix one end of the chalk line to this nail and extend it across the wall. Ensure the line is following the pencil guide marks you have drawn, and when everything is lined uphold the chalk line flat to the wall.
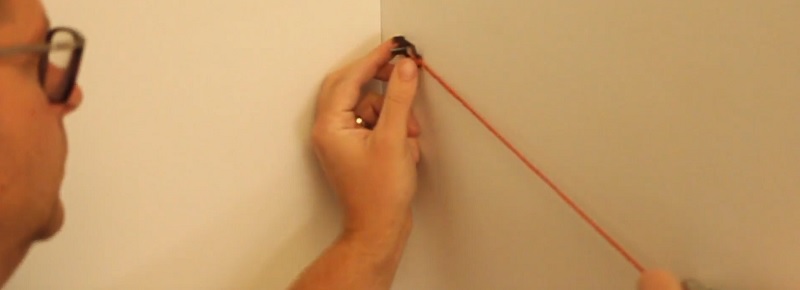
With your free hand, pinch the string of the chalk line and pull it back from the wall before sharply releasing. This will propel the chalk line towards the wall, and the impact will transfer chalk dust from the line to the wall in the required position. Lightly blow along the line to remove any excess chalk and leave a clear guideline.
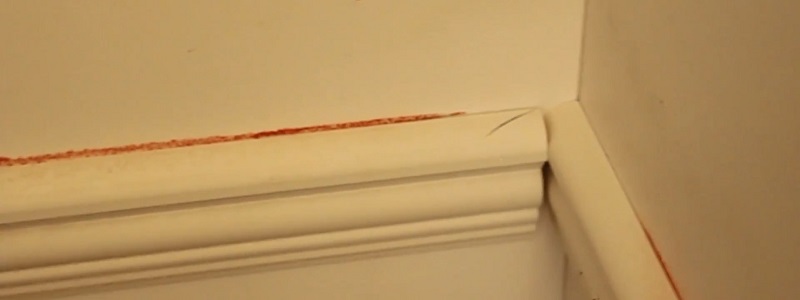
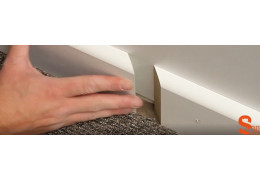
Take the first length of dado rail and line it up with the chalk guide so that one end is tight into a corner of the wall. Hold it in position with one hand, and pin it at the centre point of the length using a nail gun with the other. Once the centre is pinned in position, continue along the length of the dado adding nails at regular intervals to secure it in position.
TIP: You can also use a grab adhesive on the reverse of the dado rail for an extra sturdy installation.
Repeat the marking out
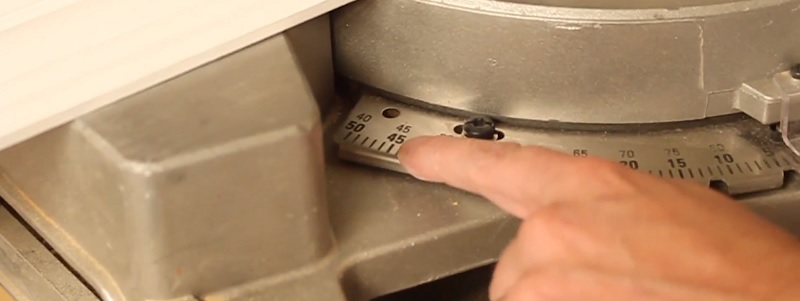
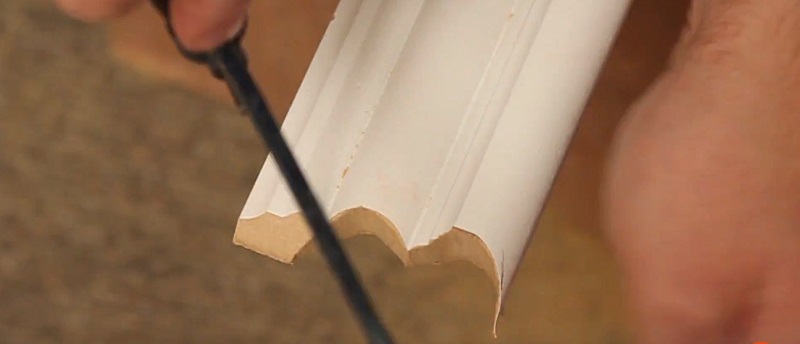
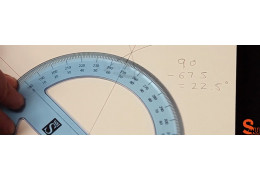
Use a mitre saw or mitre box to cut the dado length at 45 degrees in the same direction as your marking. Then, using a coping saw, cut out the profile so that the second piece will fit over the profile of the piece you installed first.
This piece is now ready to install in the same way as before, using pins and/or grab adhesive to secure in position.
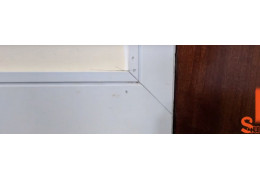
Repeat the above steps to fit the remaining lengths of dado rail. Once fitted, you can use decorators caulk to fill in any gaps where there are joins, as well as along the top edge of the dado to create a seal between the rail and the wall. This will result in a clean, professionally finished installation.
About the Author
Kieron Miller is the Managing Director of Skirting 4 U and has been working in the skirting board and online retail industry since 2012. Kieron has been using his extensive product knowledge and problem-solving experience to help both trade and private consumers all over the country find the perfect skirting board products for their projects. He continues to innovate new solutions and product ideas as the market continues to grow.
Related products
-

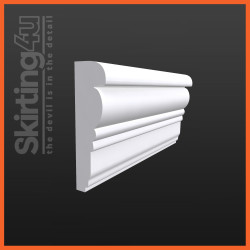
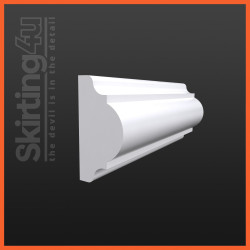
Asmara 4 MDF Dado
Price: £0.00Size Height: Product available in 66mm height.Length: Product available in... -

Chamfer MDF Dado
Price: £0.00Size Height: Product available in 55mm height.Length: Product available in... -

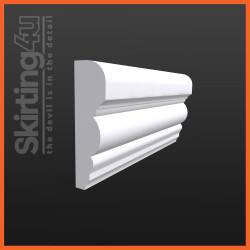
Edge MDF Dado
Price: £0.00Size Height: Product available in 55mm height.Length: Product available in... -

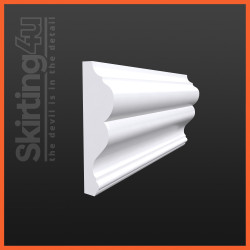
Edwardian MDF Dado
Price: £0.00Size Height: Product available in 66mm height.Length: Product available in... -
Georgian MDF Dado
Price: £0.00Size Height: Product available in 63mm height.Length: Product available in... -

Ogee MDF Dado
Price: £0.00Size Height: Product available in 58mm height.Length: Product available... -
Skirt4u 330 MDF Dado
Price: £0.00Size Height: Product available in 65mm height.Length: Product available in... -
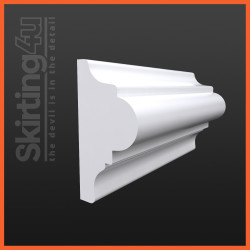
Victorian MDF Dado
Price: £0.00Size Height: Product available in 64mm height.Length: Product available in... -
Victorian 2 MDF Dado
Price: £0.00Size Height: Product available in 65mm height.Length: Product available in... -
Roux MDF Dado
Price: £0.00Size Height: Product available in 62mm height.Length: Product available in... -
Marlie MDF Dado
Price: £0.00Size Height: Product available in 50mm height.Length: Product available in... -
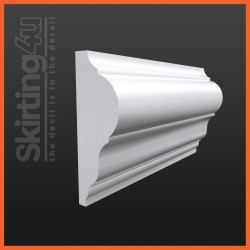
Antique MDF Dado
Price: £0.00Size Height: Product available in 66mm height.Length: Product available in... -
Antique 2 MDF Dado
Price: £0.00Size Height: Product available in 66mm height.Length: Product available in... -
Empire MDF Dado Rail
Price: £0.00Our Empire dado rail is very much the flagship of our new range of dado... -
Renaissance MDF Dado Rail
Price: £0.00Our Renaissance dado rail has been designed to complement our existing... -
Classic MDF Dado Rail
Price: £0.00Our Classic dado is exactly that; a classic, elegant profile. The full... -
Nouveau MDF Dado Rail
Price: £0.00The design of our Nouveau dado rail is less orthodox in terms of shape...
Related posts
-
 How to Measure and Cut a Skirting Board for an Internal Wall Joint by Bisecting
In this guide, we will showcase how to measure and cut skirting board for an internal wall joint by bisecting an angle.Read more
How to Measure and Cut a Skirting Board for an Internal Wall Joint by Bisecting
In this guide, we will showcase how to measure and cut skirting board for an internal wall joint by bisecting an angle.Read more -
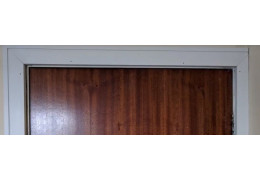 How to Fit Architrave When the Door Frame is Close to the Wall
Sometimes internal doors are so close to adjacent walls that fitting architrave is difficult. This tutorial will...Read more
How to Fit Architrave When the Door Frame is Close to the Wall
Sometimes internal doors are so close to adjacent walls that fitting architrave is difficult. This tutorial will...Read more -
 How to join two pieces of skirting board together on a flat wall
A tutorial showing how to join two pieces of skirting board together on a flat wall.Read more
How to join two pieces of skirting board together on a flat wall
A tutorial showing how to join two pieces of skirting board together on a flat wall.Read more -
 Step by Step Guide - How to Remove Skirting Board and Architrave
A video and written tutorial to show how to remove a skirting board.Read more
Step by Step Guide - How to Remove Skirting Board and Architrave
A video and written tutorial to show how to remove a skirting board.Read more -
 How to Join Square Groove Skirting Board and Architrave
One of the foremost attractions of the square groove/square groove 2 profiles is that the can be fitted so that the...Read more
How to Join Square Groove Skirting Board and Architrave
One of the foremost attractions of the square groove/square groove 2 profiles is that the can be fitted so that the...Read more