Your basket
There are no more items in your basket
Please call us on 01922 451 689
Opening Hours Mon-Fri 8:30AM - 5:00PM
")
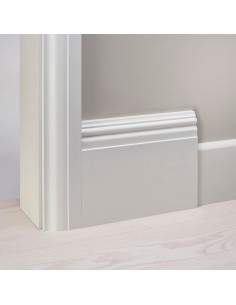
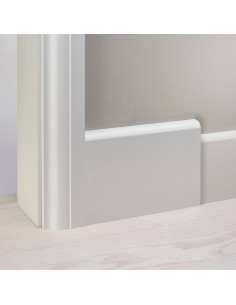
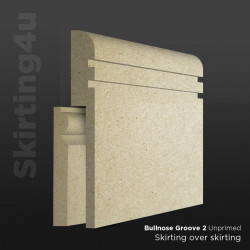
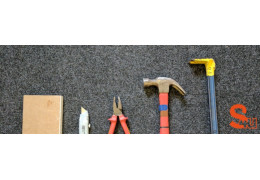
How To: Fitting Skirting over Skirting (Skirting Board Covers)
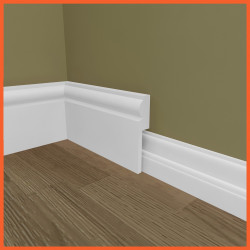
Skirting board covers (skirting over skirting) is a great alternative to standard skirting boards, as they can be fitted without having to remove the original boards. Instead, they are installed over the originals, which reduces the risk of damaging the wall.
This article is a step-by-step guide to fitting your skirting board covers.
For a full video guide watch the video below:
1. Marking out Cut-Out Points
The first step to fitting skirting board covers is to mark out your cutout points. By placing markings on the new board of the original board’s height and depth (as shown in the GIF above), you can create an accurate template of where you will need to cut to shape. It's a good idea to use either a ruler or set square to line up each marking to make a neater cut.
2. Cutting to Shape
Once you have an accurate design of where you will need to cut, use a hand saw to cut across the marked sections. This will leave you with a rectangle of space, which can then be slotted over the original skirting board (as shown above).
3. Securing the Profile
Securing the skirting cover is highly important, we need to make sure that the profile does not move. We recommend pinning the board both through the base and the existing skirting profile, for a more secure fit.
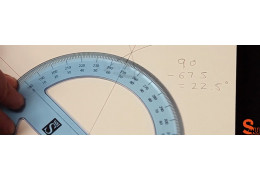
4. Preparing for the scribe
As with the first step, you will need to mark out where the original skirting board will sit under your overlapping board. However, as this board will overlap the first board that has been fitted, you must scribe the profile accurately. Using a mitre saw, we cut the board at a 45-degree angle, as this is the standard for making a scribe cut at a
*NOTE* To reduce the risk of damage to the board, it is best to place a scrap board within the rebate of the skirting cover. From the GIF above, you can see that we have used
5. Scribe Cut
To do the scribe join you need to use a coping saw to cut away the excess MDF. By having a bench for support, it helps to reduce the strain when using the saws and can aid in a more precise cut to the board. Also, by going in with the hand saw first, rather than straight in with the coping saw, it gets rid of more excess MDF which frees up space when using the coping saw on the profile.
You can see from the accompanying GIF, how we cut the board and profile with the separate saws.
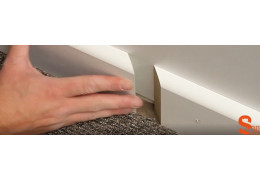
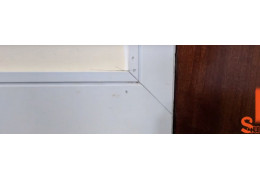
6. Securing the skirting board cover

Finally, an adhesive is used on the back of the board so that we can connect the skirting board cover to the original board and wall. As you can see, the adhesive was applied in two areas; we applied the adhesive
For additional security, similarly to the first board, adding pins to the main body and profile is also a great idea. Any holes that appear from the pins can easily be covered up with Decorator’s Caulk and painted over with touch up paint.
About the Author
Kieron Miller is the Managing Director of Skirting 4 U and has been working in the skirting board and online retail industry since 2012. Kieron has been using his extensive product knowledge and problem-solving experience to help both trade and private consumers all over the country find the perfect skirting board products for their projects. He continues to innovate new solutions and product ideas as the market continues to grow.
Related products
-
Georgian MDF Skirting Board Cover (Skirting Over Skirting)
Price: £0.00DELIVERY TIMES Express Delivery - 2 WORKING DAYS Standard Delivery – 5... -
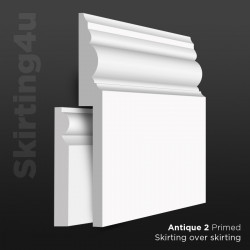
Antique 2 MDF Skirting Board Cover (Skirting Over Skirting)
Price: £0.00DELIVERY TIMES Express Delivery - 2 WORKING DAYS Standard Delivery – 5... -
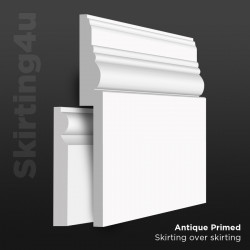
Antique MDF Skirting Board Cover (Skirting Over Skirting)
Price: £0.00DELIVERY TIMES Express Delivery - 2 WORKING DAYS Standard Delivery – 5... -
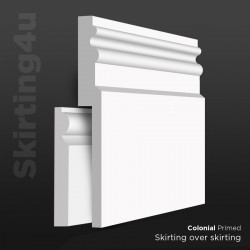
Colonial MDF Skirting Board Cover (Skirting Over Skirting)
Price: £0.00DELIVERY TIMES Express Delivery - 2 WORKING DAYS Standard Delivery – 5... -
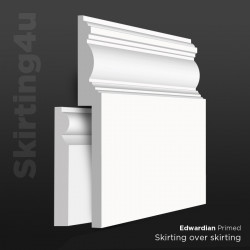
Edwardian MDF Skirting Board Cover (Skirting Over Skirting)
Price: £0.00DELIVERY TIMES Express Delivery - 2 WORKING DAYS Standard Delivery – 5... -
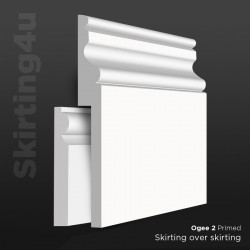
Ogee 2 MDF Skirting Board Cover (Skirting Over Skirting)
Price: £0.00DELIVERY TIMES Express Delivery - 2 WORKING DAYS Standard Delivery – 5... -
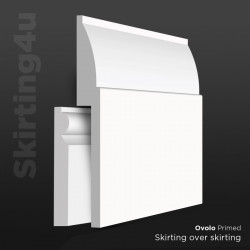
Ovolo MDF Skirting Board Cover (Skirting Over Skirting)
Price: £0.00DELIVERY TIMES Express Delivery - 2 WORKING DAYS Standard Delivery – 5... -
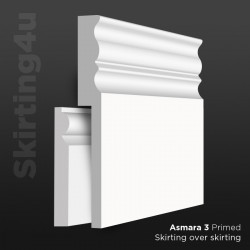
Asmara 3 MDF Skirting Board Cover (Skirting Over Skirting)
Price: £0.00DELIVERY TIMES Express Delivery - 2 WORKING DAYS Standard Delivery – 5... -

Asmara 4 MDF Skirting Board Cover (Skirting Over Skirting)
Price: £0.00DELIVERY TIMES Express Delivery - 2 WORKING DAYS Standard Delivery – 5... -
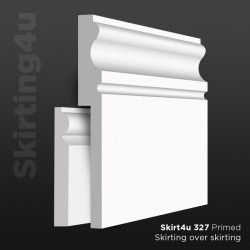
S4U 327 MDF Skirting Board Cover (Skirting Over Skirting)
Price: £0.00DELIVERY TIMES Express Delivery - 2 WORKING DAYS Standard Delivery – 5... -
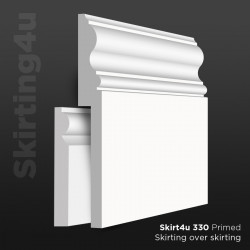
S4U 330 MDF Skirting Board Cover (Skirting Over Skirting)
Price: £0.00DELIVERY TIMES Express Delivery - 2 WORKING DAYS Standard Delivery – 5... -
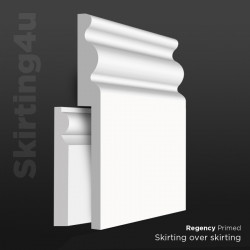
Regency MDF Skirting Board Cover (Skirting Over Skirting)
Price: £0.00DELIVERY TIMES Express Delivery - 2 WORKING DAYS Standard Delivery – 5... -
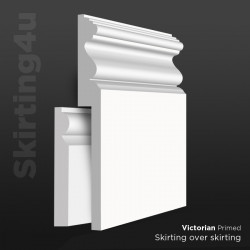
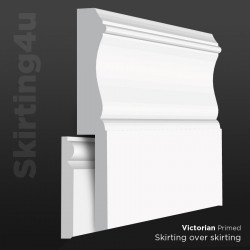
Victorian MDF Skirting Board Cover (Skirting Over Skirting)
Price: £0.00DELIVERY TIMES Express Delivery - 2 WORKING DAYS Standard Delivery – 5... -
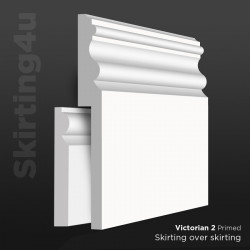
Victorian 2 MDF Skirting Board Cover (Skirting Over Skirting)
Price: £0.00DELIVERY TIMES Express Delivery - 2 WORKING DAYS Standard Delivery – 5... -
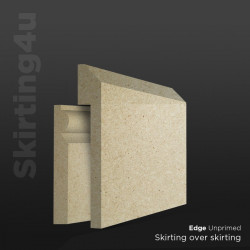
Edge MDF Skirting Board Cover (Skirting Over Skirting)
Price: £0.00DELIVERY TIMES Express Delivery - 2 WORKING DAYS Standard Delivery – 5... -
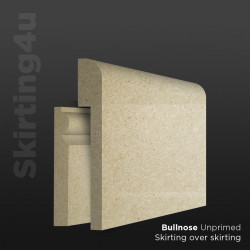
Bullnose MDF Skirting Board Cover (Skirting Over Skirting)
Price: £0.00DELIVERY TIMES Express Delivery - 2 WORKING DAYS Standard Delivery – 5... -
Mini Bullnose MDF Skirting Board Cover (Skirting Over Skirting)
Price: £0.00DELIVERY TIMES Express Delivery - 2 WORKING DAYS Standard Delivery – 5... -
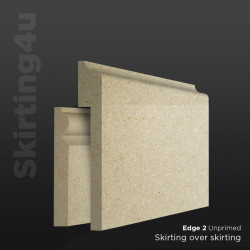
Edge 2 MDF Skirting Board Cover (Skirting Over Skirting)
Price: £0.00DELIVERY TIMES Express Delivery - 2 WORKING DAYS Standard Delivery – 5... -

Square MDF Skirting Board Cover (Skirting Over Skirting)
Price: £0.00DELIVERY TIMES Express Delivery - 2 WORKING DAYS Standard Delivery – 5... -
Windsor MDF Skirting Board Cover (Skirting Over Skirting)
Price: £0.00DELIVERY TIMES Express Delivery - 2 WORKING DAYS Standard Delivery – 5... -
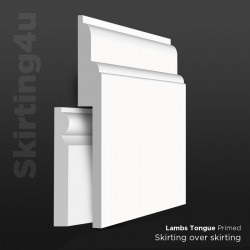
Lambs Tongue MDF Skirting Board Cover (Skirting Over Skirting)
Price: £0.00DELIVERY TIMES Express Delivery - 2 WORKING DAYS Standard Delivery – 5... -
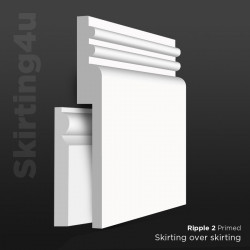
Ripple 2 MDF Skirting Board Cover (Skirting Over Skirting)
Price: £0.00DELIVERY TIMES Express Delivery - 2 WORKING DAYS Standard Delivery – 5... -
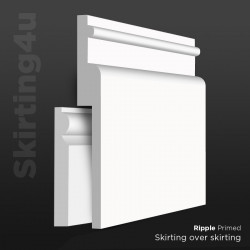
Ripple MDF Skirting Board Cover (Skirting Over Skirting)
Price: £0.00DELIVERY TIMES Express Delivery - 2 WORKING DAYS Standard Delivery – 5... -
Torus 1 MDF Skirting Board Cover (Skirting Over Skirting)
Price: £0.00DELIVERY TIMES Express Delivery - 2 WORKING DAYS Standard Delivery – 5... -

Ogee MDF Skirting Board Cover (Skirting Over Skirting)
Price: £0.00DELIVERY TIMES Express Delivery - 2 WORKING DAYS Standard Delivery – 5... -
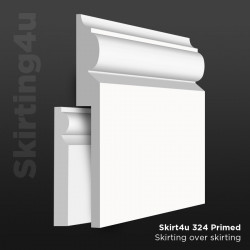
S4U 324 MDF Skirting Board Cover (Skirting Over Skirting)
Price: £0.00DELIVERY TIMES Express Delivery - 2 WORKING DAYS Standard Delivery – 5... -
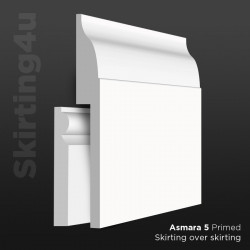
Asmara 5 MDF Skirting Board Cover (Skirting Over Skirting)
Price: £0.00DELIVERY TIMES Express Delivery - 2 WORKING DAYS Standard Delivery – 5... -

Torus 2 MDF Skirting Board Cover (Skirting Over Skirting)
Price: £0.00DELIVERY TIMES Express Delivery - 2 WORKING DAYS Standard Delivery – 5... -

Stepped MDF Skirting Board Cover (Skirting Over Skirting)
Price: £0.00DELIVERY TIMES Express Delivery - 2 WORKING DAYS Standard Delivery – 5... -
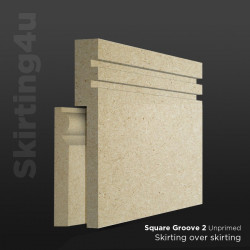
Square Groove 2 MDF Skirting Board Cover (Skirting Over Skirting)
Price: £0.00DELIVERY TIMES Express Delivery - 2 WORKING DAYS Standard Delivery – 5... -
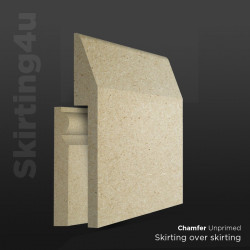
Chamfer MDF Skirting Board Cover (Skirting Over Skirting)
Price: £0.00DELIVERY TIMES Express Delivery - 2 WORKING DAYS Standard Delivery – 5... -
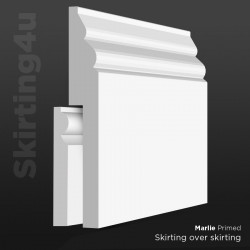
Marlie MDF Skirting Board Cover (Skirting Over Skirting)
Price: £0.00DELIVERY TIMES Express Delivery - 2 WORKING DAYS Standard Delivery – 5... -
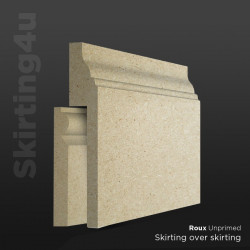
Roux MDF Skirting Board Cover (Skirting Over Skirting)
Price: £0.00DELIVERY TIMES Express Delivery - 2 WORKING DAYS Standard Delivery – 5... -
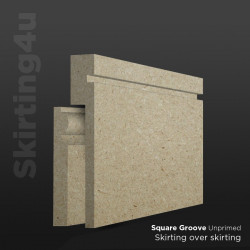
Square Groove MDF Skirting Board Cover (Skirting Over Skirting)
Price: £0.00DELIVERY TIMES Express Delivery - 2 WORKING DAYS Standard Delivery – 5... -

Edge Groove MDF Skirting Board Cover (Skirting Over Skirting)
Price: £0.00DELIVERY TIMES Express Delivery - 2 WORKING DAYS Standard Delivery – 5... -
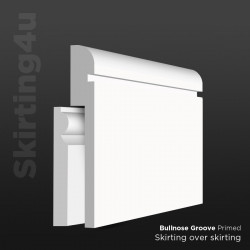
Bullnose Groove MDF Skirting Board Cover (Skirting Over Skirting)
Price: £0.00DELIVERY TIMES Express Delivery - 2 WORKING DAYS Standard Delivery – 5... -
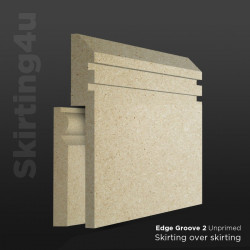
Edge Groove 2 MDF Skirting Board Cover (Skirting Over Skirting)
Price: £0.00DELIVERY TIMES Express Delivery - 2 WORKING DAYS Standard Delivery – 5... -
Bullnose Groove 2 MDF Skirting Board Cover (Skirting Over Skirting)
Price: £0.00DELIVERY TIMES Express Delivery - 2 WORKING DAYS Standard Delivery – 5...
Related posts
-
 How to Measure and Cut a Skirting Board for an Internal Wall Joint by Bisecting
In this guide, we will showcase how to measure and cut skirting board for an internal wall joint by bisecting an angle.Read more
How to Measure and Cut a Skirting Board for an Internal Wall Joint by Bisecting
In this guide, we will showcase how to measure and cut skirting board for an internal wall joint by bisecting an angle.Read more -
 How to Fit Architrave When the Door Frame is Close to the Wall
Sometimes internal doors are so close to adjacent walls that fitting architrave is difficult. This tutorial will...Read more
How to Fit Architrave When the Door Frame is Close to the Wall
Sometimes internal doors are so close to adjacent walls that fitting architrave is difficult. This tutorial will...Read more -
 How to join two pieces of skirting board together on a flat wall
A tutorial showing how to join two pieces of skirting board together on a flat wall.Read more
How to join two pieces of skirting board together on a flat wall
A tutorial showing how to join two pieces of skirting board together on a flat wall.Read more -
 Step by Step Guide - How to Remove Skirting Board and Architrave
A video and written tutorial to show how to remove a skirting board.Read more
Step by Step Guide - How to Remove Skirting Board and Architrave
A video and written tutorial to show how to remove a skirting board.Read more -
 How to Join Square Groove Skirting Board and Architrave
One of the foremost attractions of the square groove/square groove 2 profiles is that the can be fitted so that the...Read more
How to Join Square Groove Skirting Board and Architrave
One of the foremost attractions of the square groove/square groove 2 profiles is that the can be fitted so that the...Read more