Your basket
There are no more items in your basket
Please call us on 01922 451 689
Opening Hours Mon-Fri 8:30AM - 5:00PM

How to Measure and Cut a Skirting Board for an Internal Wall Joint by Bisecting
In this guide, we will showcase how to measure and cut skirting board for an internal wall joint by bisecting an angle. We have included a step by step guide and a video below:
When fitting skirting board you may find instances where you need to cut the boards to fit internal angles that are different from 90 degrees. This tutorial is designed to show you how to calculate the required angle for each cut, as well as how to make said cuts on a mitre saw.
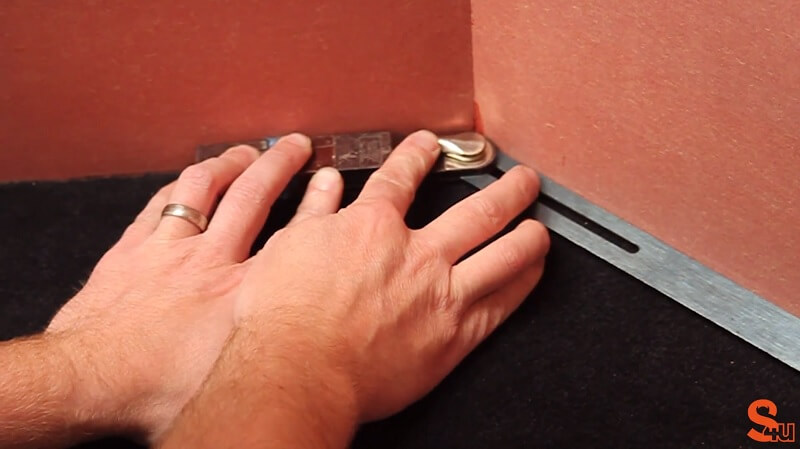
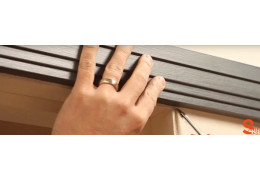
Begin by using a sliding bevel to recreate the angle you will be cutting. Lock the angle in place when it is in the correct position to ensure it doesn’t move.
At this stage, you are essentially trying to identify the value of HALF of the angle you just measured with the sliding bevel. The reason for this is that to properly fit skirting boards around said angle, you will need to make cuts on TWO pieces of skirting, that when joined together recreate the total measured angle exactly.
The first step to calculating the necessary angle to cut is to take the
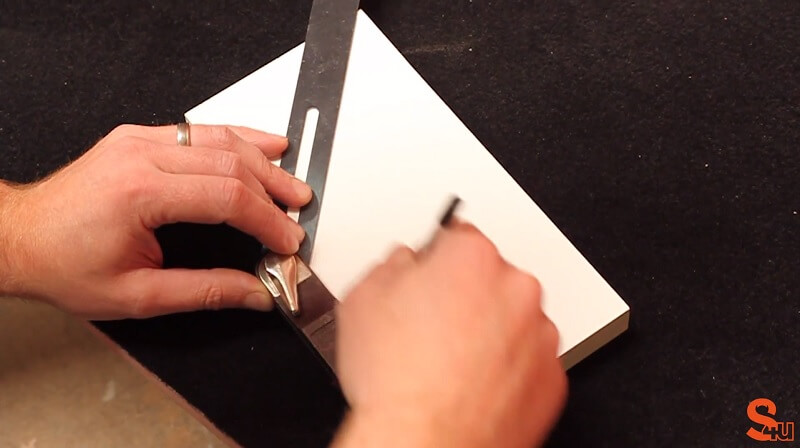
To transfer the known angle to the offcut, place the bevel onto the offcut so that the handle of the bevel is flush with the bottom edge of the offcut, and the actual sliding part of the tool (the metal edge in the case of our video tutorial) intersects the top edge of the offcut. This will make the measuring part of this exercise much easier than if, for example, the bevel intersected at one of the side edges of the offcut (see picture for our placement of the tooling).
With the bevel in position, use a pencil to mark a line along the full length of the metal part of the bevel, so you are left with a marking that runs from the top edge of the offcut to the bottom, and that looks like the angle on the wall that you are trying to replicate (see image)
Once you have this initial marking drawn out, the next stage is to add further markings to the offcut that will enable you to accurately calculate the required cutting angle for the skirting.
For the next
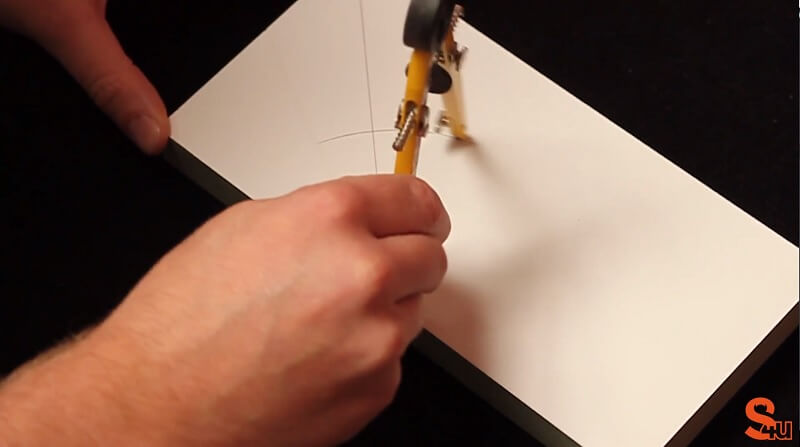
With the needle of the compasses remaining in the same position, move the pencil arm around so that when you draw another similar arc, it ‘cuts through’ the base of the board. This is tricky to describe so please refer to the still images for guidance on the compass placement.
You are about to create another set of markings on the offcut. It is important that these markings are able to cross each other
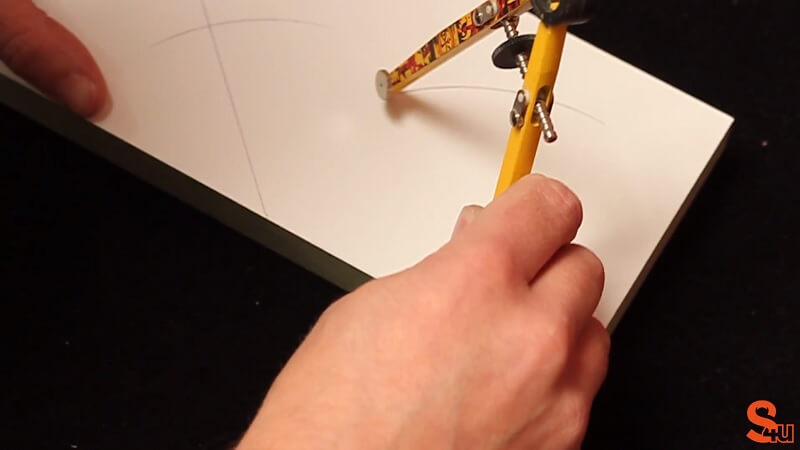
With the compasses now set in position, place the needle onto the ‘baseline’ of the offcut exactly at the point where the arc you drew a moment ago cuts through the baseline (refer to still image for clarification). With the needle in position, repeat the process of drawing a quarter circle arc.
Reposition the pair of compasses so that the needle is placed at the point where the first arc you drew cut through the line you made at the outset with the sliding bevel (again, see picture for further clarification). Once again use the pencil to draw an arc. All being well you will find that this arc intersects (crosses over) the arc you just made. If for some reason this is not the case you may need to further extend your compasses and draw both arcs again.
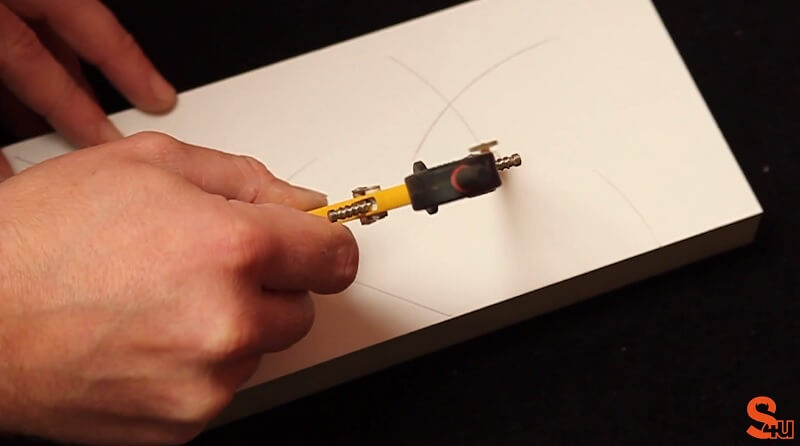
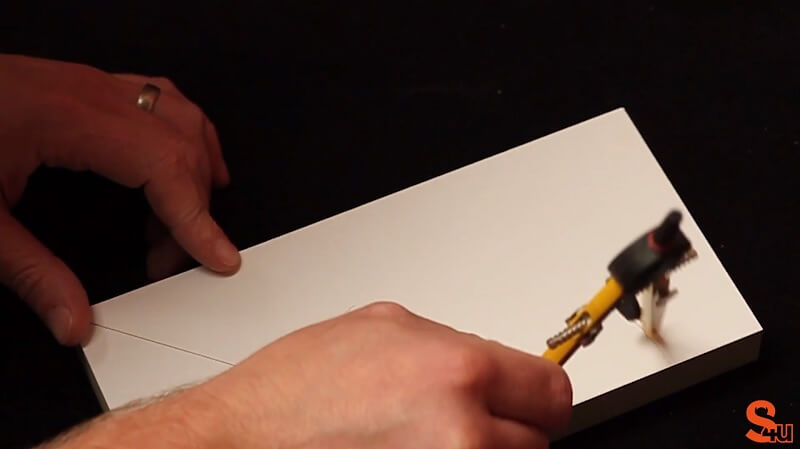
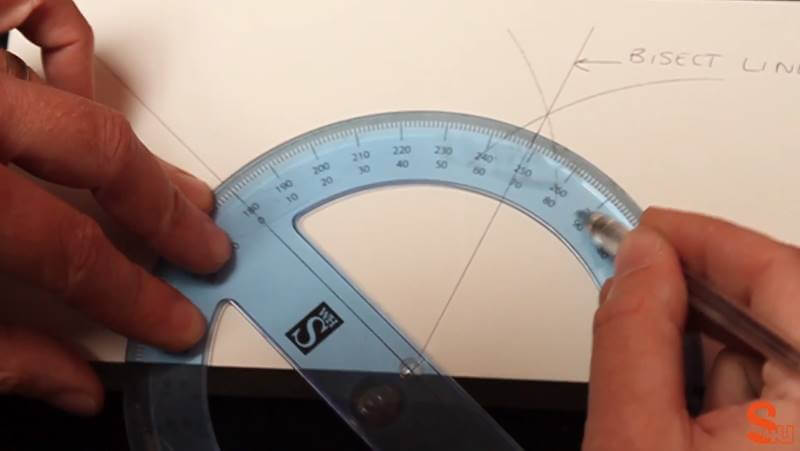
You should now be looking at an offcut with one straight line marking running from the baseline of the board to the top edge, and 4 quarter circle arcs. You are only now interested in the two arcs that form a cross. Using a straight edge and a pencil, create a new marking that is a continuous straight line that runs through the point at which the two arcs cross each other, and the point the original straight line you drew reaches the baseline of the board (see picture).
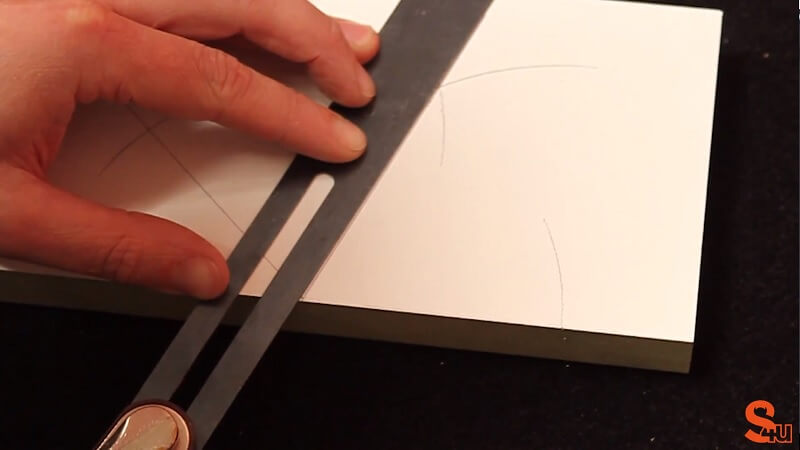
This final line is called the
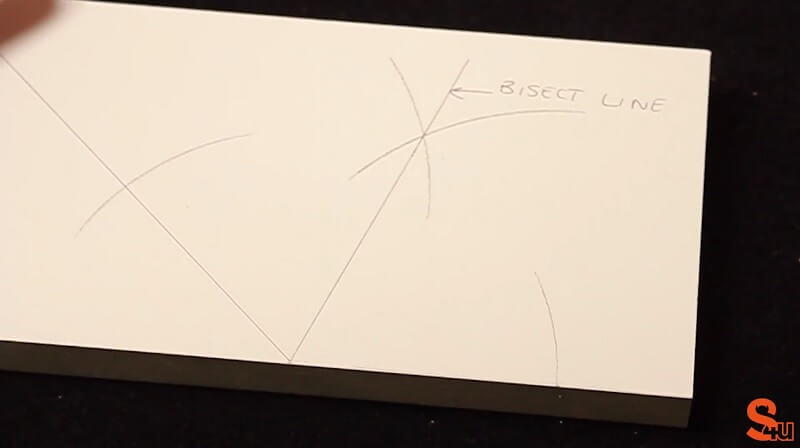
Looking at the board in front of you, you should be looking at a V shape made from the 2 solid straight lines you have drawn (ignoring the arcs at this point.) This V may be wide or narrow depending on the original angle of the wall. Your next job is to measure the
Place the protractor so that the left-hand arm of the V (the first line you drew) runs straight through the protractor at zero degrees. Now, look at where the second arm of the V runs through the protractor- this will give you the value of the angle inside the V. In the case of this example, the value of the angle is 67.5 degrees. Make a note of this angle size so you don’t forget it!
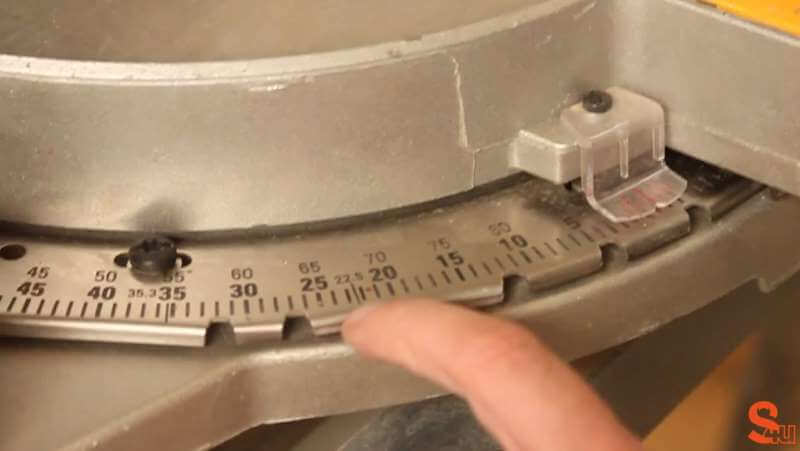
You are finally ready to calculate the angle required for the chop saw. To do this, you simply subtract the internal angle of the V from 90 degrees. In this example, 90 - 67.5 = 22.5 degrees. (see photo).

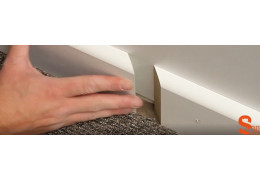
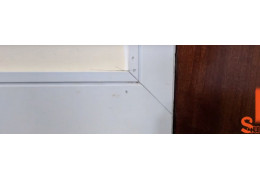
You can now cut the two pieces of skirting board that are to be joined together to form the required internal angle. Set up the mitre saw to the correct angle- 22.5 degrees in this case. Take an offcut or scrap piece of skirting board and cut it at this angle. Then, set the mitre saw to the same angle again but cutting in the opposite direction and cut another offcut or scrap piece at this angle. Take both pieces over to the wall and place them in position. You should find that they have made a perfect internal join. If you are happy that the join is tight, you can continue to make the cuts on the actual pieces of skirting board you are fitting.
The pieces should correspond with the angle as shown below.

About the Author
Kieron Miller is the Managing Director of Skirting 4 U and has been working in the skirting board and online retail industry since 2012. Kieron has been using his extensive product knowledge and problem-solving experience to help both trade and private consumers all over the country find the perfect skirting board products for their projects. He continues to innovate new solutions and product ideas as the market continues to grow.
Related products
-
Antique MDF Skirting Board
Price: £0.00The Antique Skirting Board is very traditional in its styling, and... -
Asmara 4 MDF Skirting Board
Price: £0.00The Asmara 4 Skirting Board is an intricate homage to classical period... -
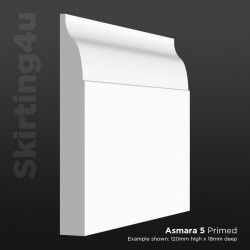
Asmara 5 MDF Skirting Board
Price: £0.00The Asmara 5 Skirting Board seamlessly brings together elegance and... -

Skirt4u 324 MDF Skirting Board
Price: £0.00The design of our S4U 324 profile is based upon the ever-popular Torus... -
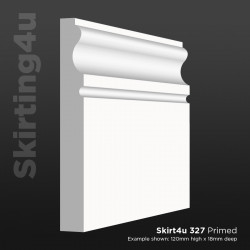
Skirt4u 327 MDF Skirting Board
Price: £0.00The 327 design is something of a departure from traditional skirting board... -
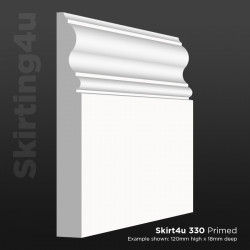
Skirt4u 330 MDF Skirting Board
Price: £0.00Our 330 skirting board brings together the best elements of our 327 and 324... -

Asmara 3 MDF Skirting Board
Price: £0.00The Asmara 3 is the perfect statement skirting board design. Extremely bold... -
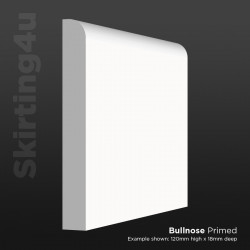
Bullnose MDF Skirting Board
Price: £0.00Bullnose Skirting is widely used by both trade professionals and private... -
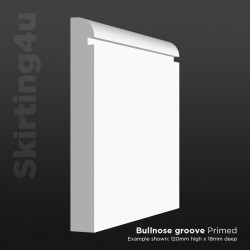
Bullnose Groove MDF Skirting Board
Price: £0.00Our Bullnose Groove Skirting Board is a modern profile that is a great... -
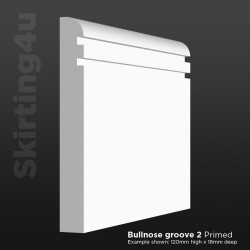
Bullnose Groove 2 MDF Skirting Board
Price: £0.00Our Bullnose Groove 2 Skirting Board is a modern take on the classic... -
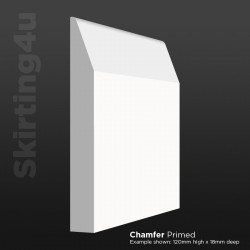
Chamfer MDF Skirting Board
Price: £0.00Chamfer skirting remains as popular today as ever. The simplicity of the... -
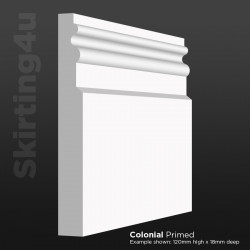
Colonial MDF Skirting Board
Price: £0.00Our Colonial Skirting Board is a replica of a design that was common in the... -

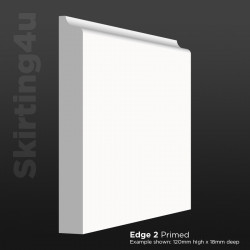
Edge MDF Skirting Board
Price: £0.00The Edge Skirting Board is from the same ‘family’ of designs the Chamfer... -
Edge 2 MDF Skirting Board
Price: £0.00Our Edge 2 Skirting Board (sometimes referred to as ‘scotia’) is a minimal... -
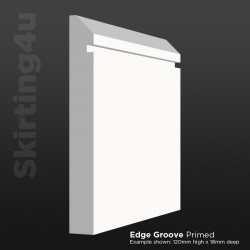
Edge Groove MDF Skirting Board
Price: £0.00The Edge Groove Skirting Board is the regular Edge design with the addition... -
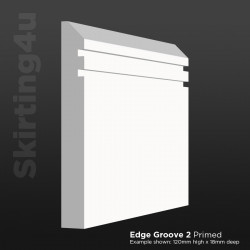
Edge Groove 2 MDF Skirting Board
Price: £0.00The Edge Groove 2 is a skirting board design that brings together the most... -

Edwardian MDF Skirting Board
Price: £0.00Our Edwardian Skirting Board design is an homage to styles widely used in... -
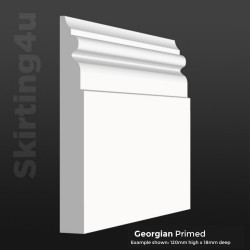
Georgian MDF Skirting Board
Price: £0.00Our Georgian Skirting Board is inspired by interior moulding designs used... -
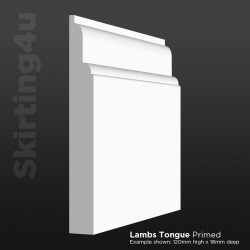
MDF Lambs Tongue Skirting Board
Price: £0.00The Lambs Tongue Skirting Board is a widely-known style and is something of... -
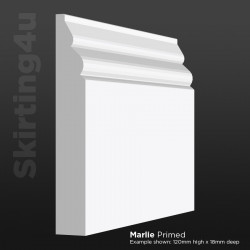
Marlie MDF Skirting Board
Price: £0.00Marlie is a skirting board design that is exclusive to Skirting 4 U. It is... -
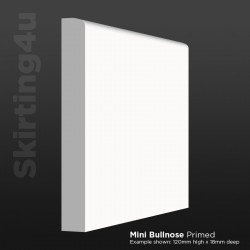
Mini Bullnose MDF Skirting Board
Price: £0.00Mini Bullnose skirting board is sometimes referred to as ‘Pencil Round’. It... -
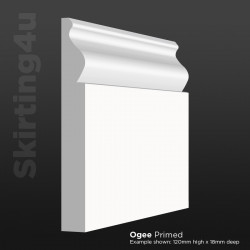
Ogee MDF Skirting Board
Price: £0.00Ogee skirting board has really stood the test of time and remains a firm... -
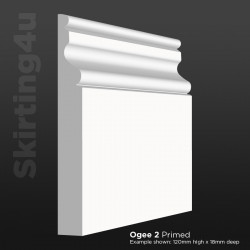
Ogee 2 MDF Skirting Board
Price: £0.00Ogee 2 skirting board has been introduced to offer an alternative to the... -
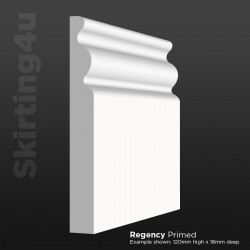
Regency MDF Skirting Board
Price: £0.00Regency skirting board is not too dissimilar to the Ogee style in terms of... -
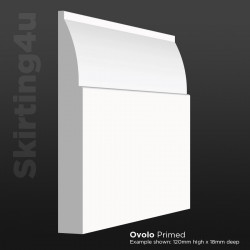
Ovolo MDF Skirting Board
Price: £0.00Ovolo skirting board is another profile that is widely known and sought... -

Square MDF Skirting Board
Price: £0.00Square skirting board continues to be hugely popular with both private and... -
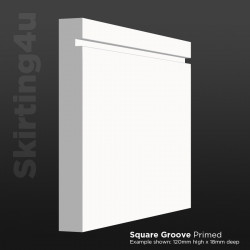
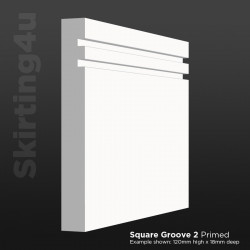
Square Groove MDF Skirting Board
Price: £0.00Square Groove skirting board is another modern profile that has remained... -
Square Groove 2 MDF Skirting Board
Price: £0.00Square Groove 2 skirting board is by far and away the most popular modern... -
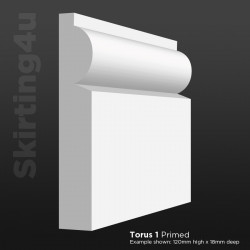
Torus 1 MDF Skirting Board
Price: £0.00Our Torus skirting board is an absolute classic MDF moulding design.... -
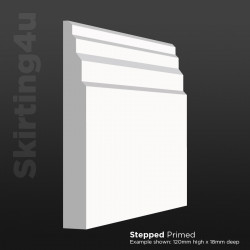
Stepped MDF Skirting Board
Price: £0.00Stepped skirting board is a visually striking design that is a great choice... -
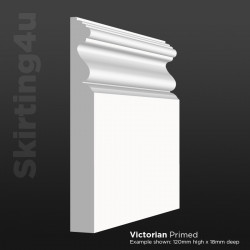
Victorian MDF Skirting Board
Price: £0.00Our Victorian skirting board design is manufactured to sympathetically... -

Torus 2 MDF Skirting Board
Price: £0.00Torus skirting boards are by far the most commonly purchased profile we... -
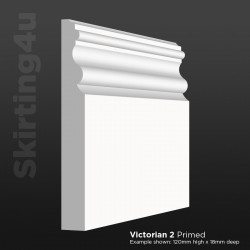
Victorian 2 MDF Skirting Board
Price: £0.00Our Victorian 2 profile is a second variation of a skirting board design... -
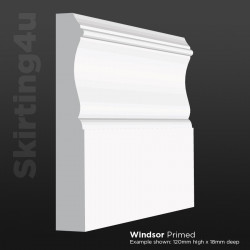
Windsor MDF Skirting Board
Price: £0.00Windsor Skirting Board is one of our more exclusive profiles. It is popular... -
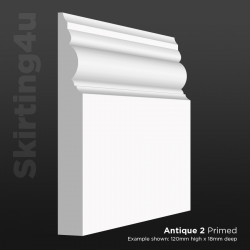
Antique 2 MDF Skirting Board
Price: £0.00The Antique 2 Skirting Board profile is a less complex version of our...
Related posts
-
 How to Fit Architrave When the Door Frame is Close to the Wall
Sometimes internal doors are so close to adjacent walls that fitting architrave is difficult. This tutorial will...Read more
How to Fit Architrave When the Door Frame is Close to the Wall
Sometimes internal doors are so close to adjacent walls that fitting architrave is difficult. This tutorial will...Read more -
 How to join two pieces of skirting board together on a flat wall
A tutorial showing how to join two pieces of skirting board together on a flat wall.Read more
How to join two pieces of skirting board together on a flat wall
A tutorial showing how to join two pieces of skirting board together on a flat wall.Read more -
 Step by Step Guide - How to Remove Skirting Board and Architrave
A video and written tutorial to show how to remove a skirting board.Read more
Step by Step Guide - How to Remove Skirting Board and Architrave
A video and written tutorial to show how to remove a skirting board.Read more -
 How to Join Square Groove Skirting Board and Architrave
One of the foremost attractions of the square groove/square groove 2 profiles is that the can be fitted so that the...Read more
How to Join Square Groove Skirting Board and Architrave
One of the foremost attractions of the square groove/square groove 2 profiles is that the can be fitted so that the...Read more -
 How to Fit Architrave
For customers looking for information on how to fit architrave, we've produced this step by step guide.Read more
How to Fit Architrave
For customers looking for information on how to fit architrave, we've produced this step by step guide.Read more