Your basket
There are no more items in your basket


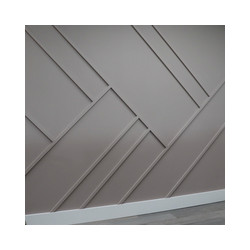
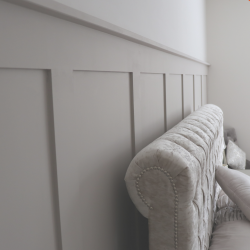
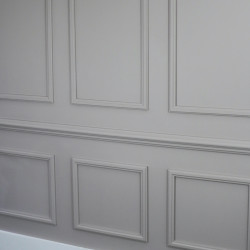
Wall Panelling