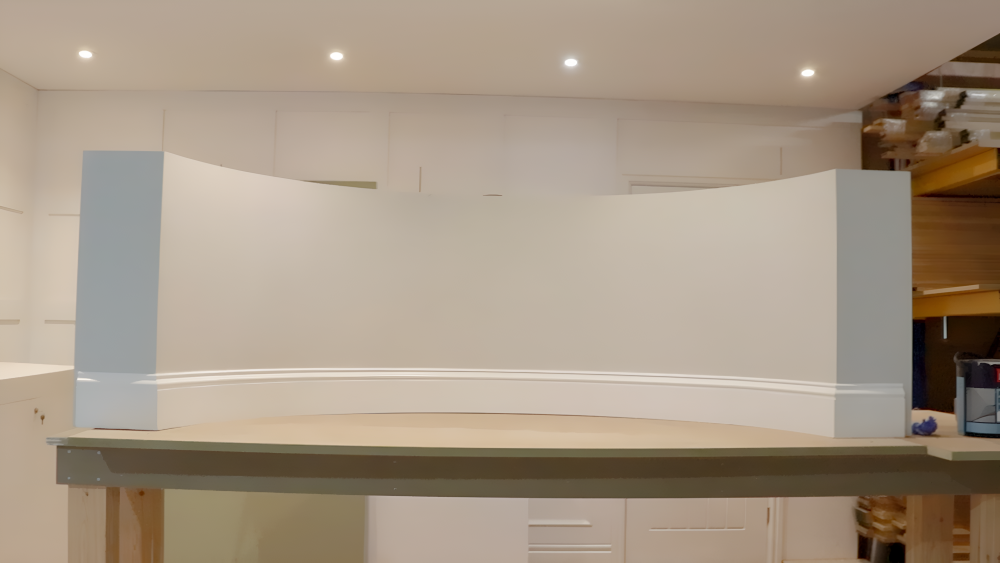
In this blog, we are going to show you two methods of installing curved skirting into a bay window.
Method 1
“Kerfing” a regular MDF Skirting board to make it flexible enough to fit the curve of a bay window.
Method 2
Using our new Flexible Skirting Board which is made from a special material that bends to any curve when heated and keeps its shape when cooled.
https://www.youtube.com/watch?v=2bktvmOtcvo&t=461s embed this video.
Kerfing an MDF Skirting Board
Whilst an MDF skirting board has a certain degree of flexibility, if you were to try and bend it to fit the curve of a bay window, you would quickly realise that it is far too rigid for this purpose and would snap under the sort of pressure required to bend it into shape.
A technique called “kerfing” is often used to make MDF (and some wooden) skirting boards much more flexible. To achieve this, you will essentially be cutting a series of notches in the back of the material, which weakens the rigidity of the board and allows it to bend more easily to fit in and around curved spaces and walls.
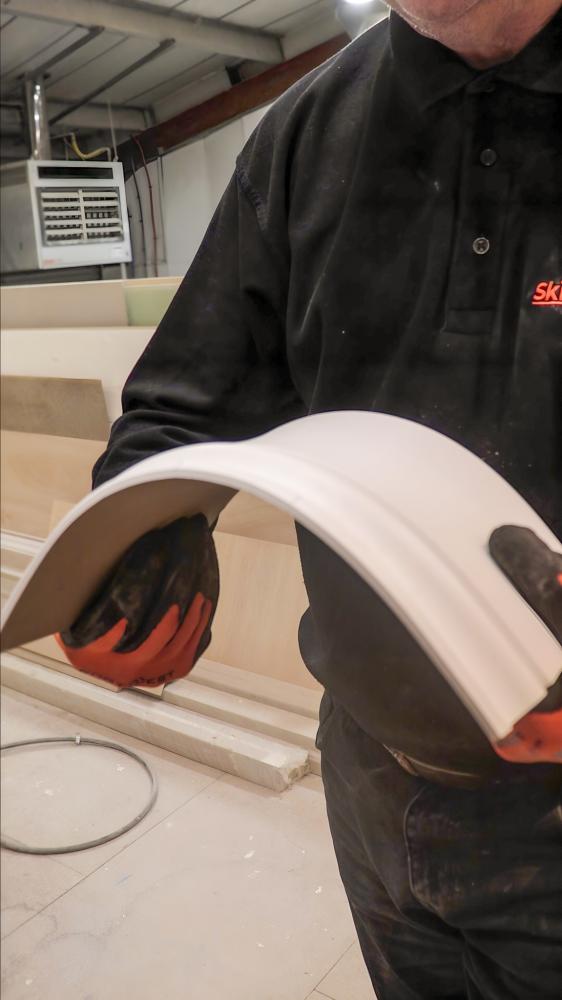
Flexible Skirting Board
Our flexible skirting board product is made from an innovative new material that closely resembles MDF. However, when this material is heated it becomes completely flexible, like rubber, and can be moulded into practically any shape - making it perfect for curved walls, rounded corners and bay windows. When the material cools it returns to a rigid state and it holds the shape it has been moulded to.
Both methods of fitting skirting board follow a very similar structure:
- Measure the length of skirting board that is needed to fit the curve of the bay window, joining multiple pieces if necessary.
- Calculate the cutting angles required to create the two external corners at each side of the window.
- Prepare the skirting board so it follows the curve of the bay window.
- Cut the correct angle on each side of the curved skirting board and fix it into position.
- Cut the correct angle on the regular skirting board pieces that will join the curved skirting board at each corner of the bay window.
- Join the regular skirting board to the curved skirting board.
- Fill any holes or imperfections on the face of the skirting board and sand it smooth.
- Use caulk to seal the top edge of the skirting board.
How to measure the length of the bay window
Whilst there will no doubt be some super smart professional carpenters out there who can calculate the length of a curved bat window using mathematics, we are opting for a much simpler approach and recommend you do too!
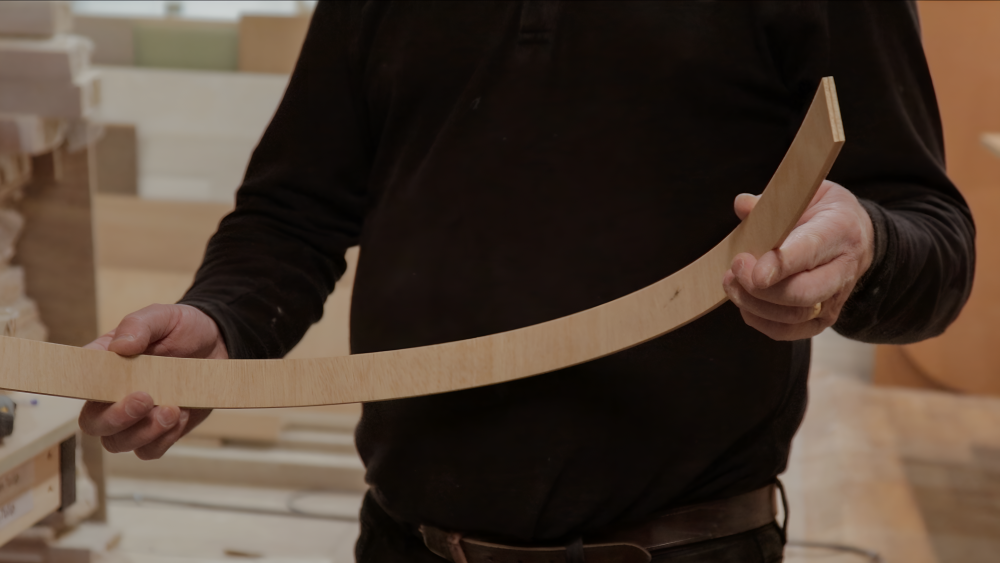
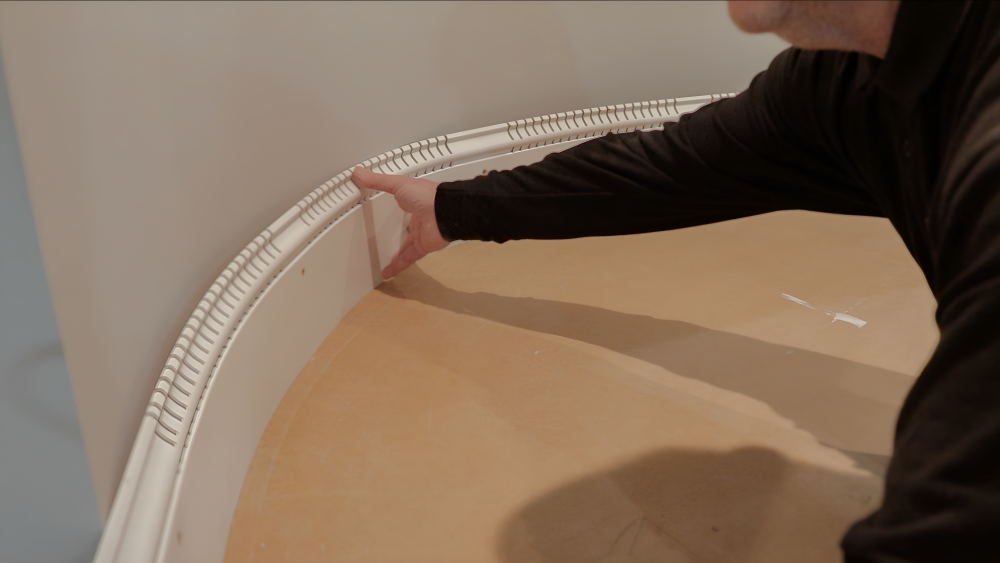
We are using thin, flexible strips of ply that are one metre in length each. Starting at one end of the bay, we fix these pieces in place one after the other until the whole bay is covered. On the final piece there is an overhang. This will always be the case unless by some miracle your final section of ply marries up with the corner of the bay window exactly.

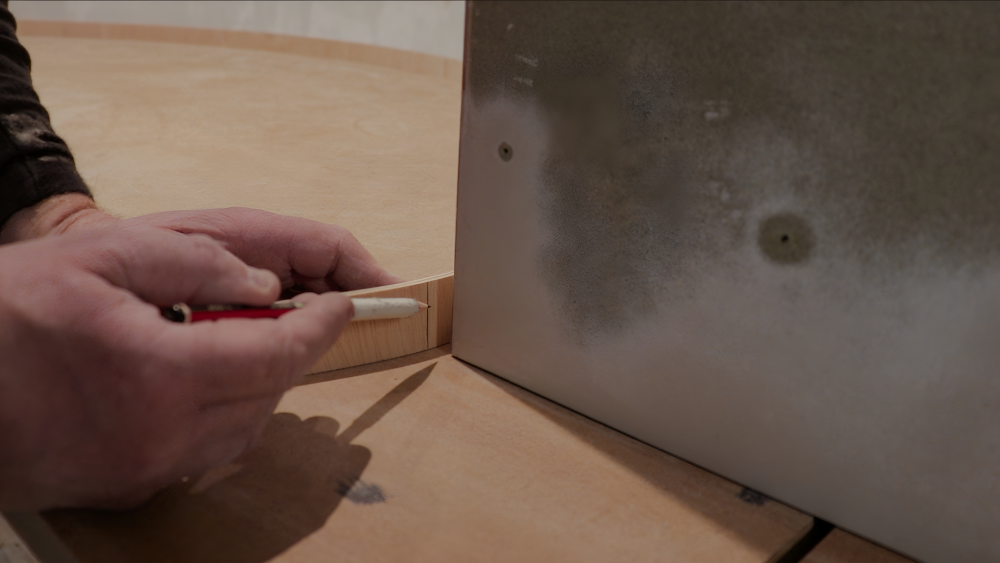
Simply mark the point where the ply meets the corner of the bay window, then remove all the ply.
Note - although we used flexible ply in our example to measure the bay window, if you don’t have this material available to you, you can essentially do the same method using strips of cardboard or even masking tape.
All you need to do now is use a measuring tape to establish the distance between the marking you just made on the final piece of ply and the “start” of that piece (the end that was fixed next to the previous full piece).

Now you can add the total number of complete one-metre sections to the measurement you just recorded from the final piece.
In our example, we used 2 full strips, and the measurement from the third strip was 807mm. The complete measurement of the bay window was therefore 2807mm (1000mm + 1000mm + 807mm).
Note - the flexible skirting board we manufacture is (at the time of writing) only sold in 2400mm lengths, so 2 pieces will need to be joined together to have enough length to cover this particular bay window. This is not the case for our MDF skirting board, which is available in longer lengths of 3050mm and 4200mm, so it won’t be necessary to join multiple pieces when opting to curve MDF skirting by kerfing it.
How to calculate the cutting angle to create each external corner joint
To initially find the angle of the complete external corner, you will need to use an adjustable manual bevel. Because the length of each “arm” of this tool can be easily adjusted, it will allow you to configure it so that both arms sit flush against the corner, which is really important.
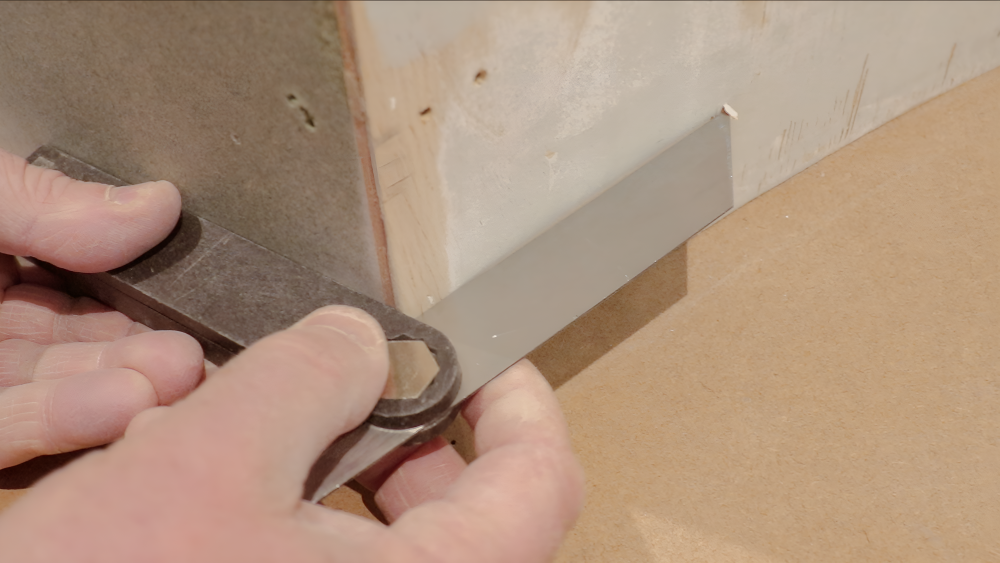
Note - whilst there are more modern tools available, like a digital angle finder, the “arms” on these tend to be static and too long for this job. Using a tool where the arms are too long will stop it from sitting flush against both sides of the corner - the curve of the bay window will alter the result which is no good in this case!
With the bevel locked in place to secure the angle, transfer the angle onto a piece of paper by placing the bevel on the paper and drawing a pencil line along the outer straight edge as shown.
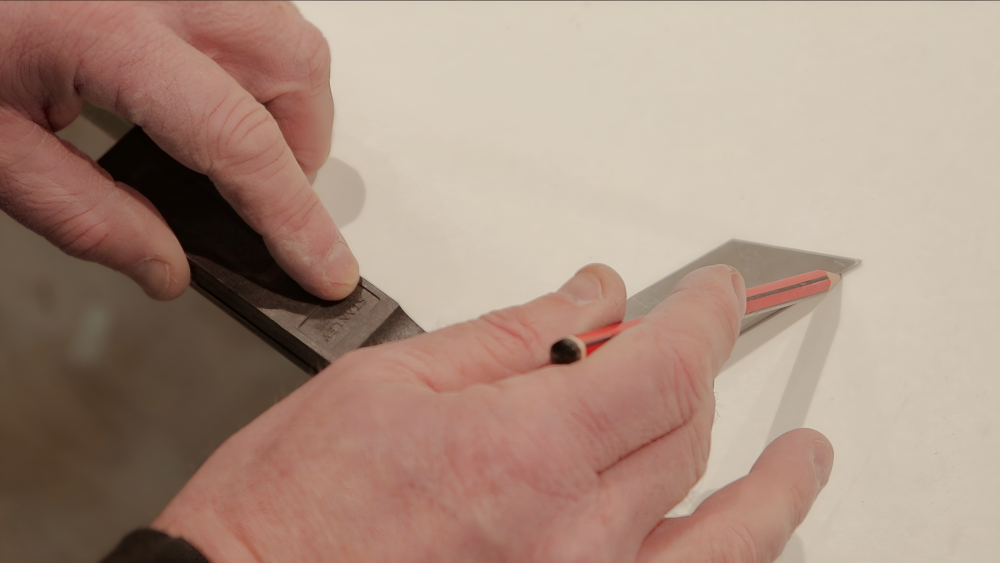
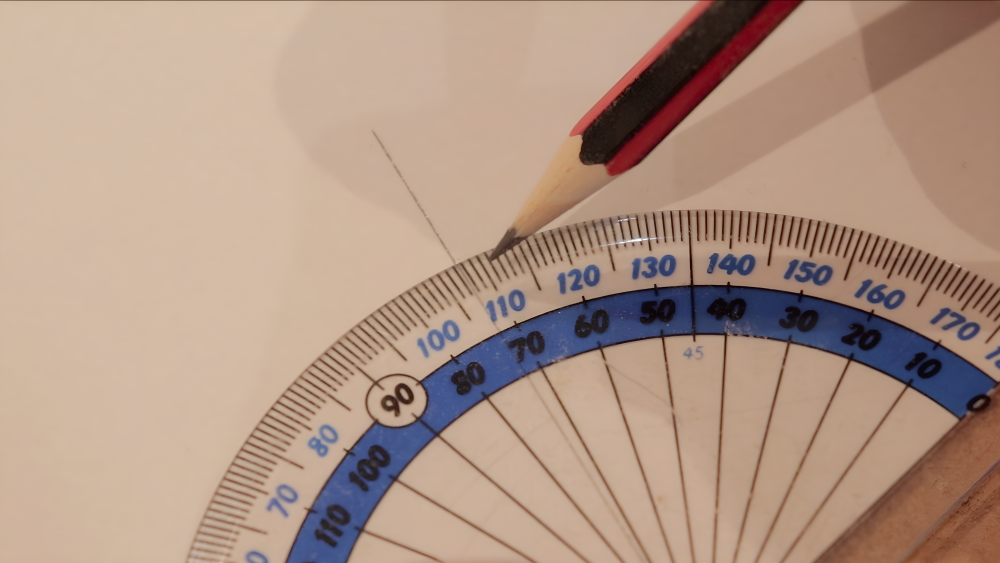
Using a protractor, calculate the angle of the full external corner and write it down on the paper. In our example, the angle measured 107 degrees.
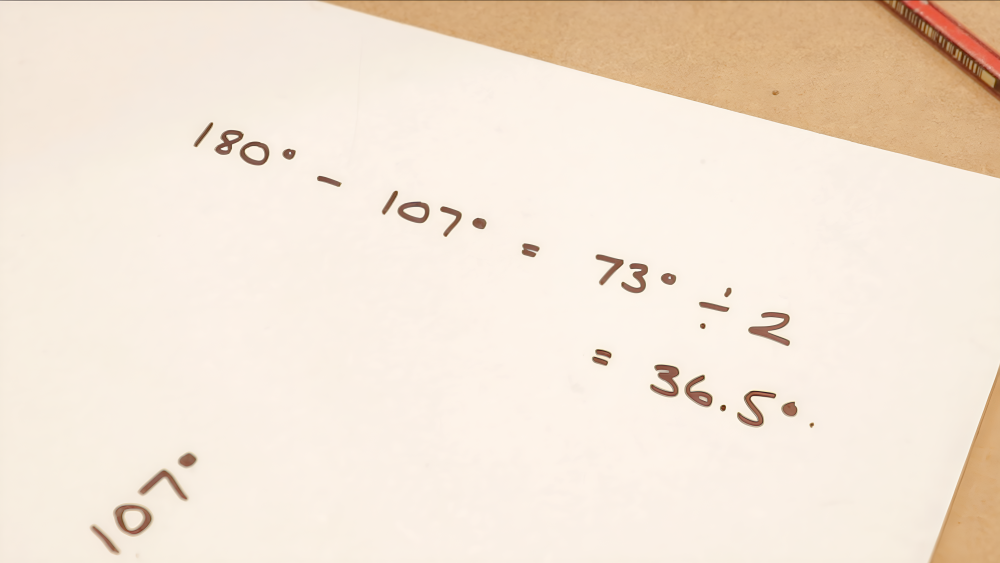
Now that you have this information, you need to do a quick bit of maths to establish the angle at which to cut both pieces of material so that they form a seamless external corner when fitted together.
180, minus your measurement, then divide the result by 2
In our example, 180 minus 107 is 73. 73 divided by 2 is 36.5, so we need to set the saw to 36.5 degrees to cut this angle.
For both methods of curving a skirting board, you will need to cut the angle you just calculated on each side of the length of skirting board.
However, at this stage you ideally only cut the angle on the left side of the skirting board. It will make sense why once you have read through the whole process, but here is an important note:
Note - Both methods of curving a skirting board can alter the true length of the skirting board as the material takes shape, so you don’t want to cut angles on both sides until the curve has been created and fixed in place. This way you will definitely have enough material. By cutting the angle on both sides now, you could run the risk of cutting the material too short which will be very frustrating!
By cutting one side now, you can line up the angle in the corner accurately to start, then curve the material around the shape of the bay window leaving additional material overhanging the second corner. Then you can cut the angle on the right and side in the action of also trimming off the unwanted excess material.
How to create a curved skirting board to fit in the bay window
Note - In this section we will describe both methods of bending the skirting board into a curve. It is important that you are aware that two different methods are being described here. The last thing you want to do is follow all the steps outlined for both methods on the same skirting board or follow the wrong set of steps for the material you are working with! We’ve done our best to make everything as clear as possible, so please also read this carefully yourself to avoid a disaster!
Creating the curve using Flexible Skirting Board
The flexible skirting board needs to have a second piece joined to it in order to get the correct length, so you will need to cut the right-hand end of the length at an angle of 22.5 degrees ready to join it to the next piece as you fit it into the bay window.

Note - There is no calculation step necessary when cutting the angle to join one skirting board piece to another in this way - 22.5 degrees is a widely used angle for this purpose.
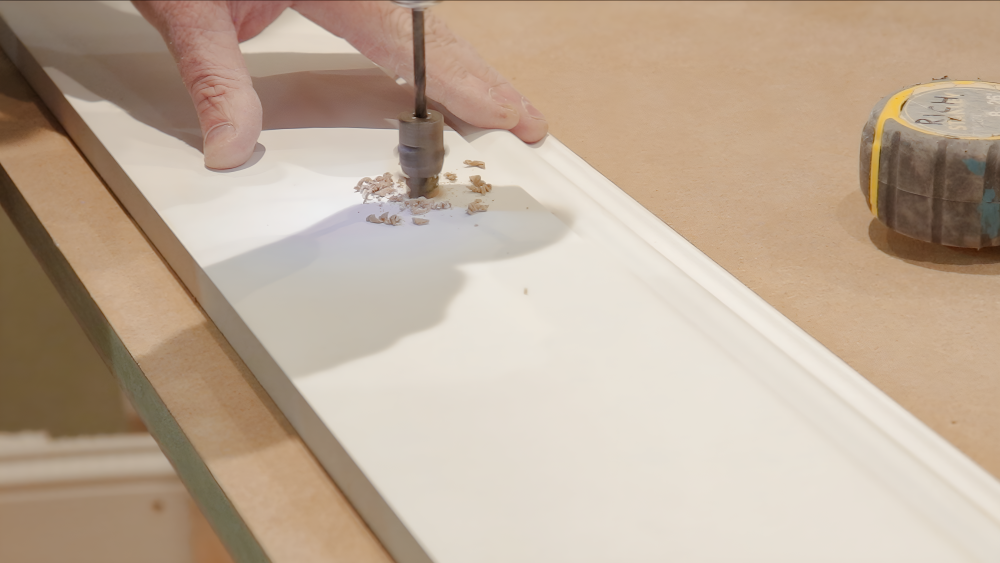
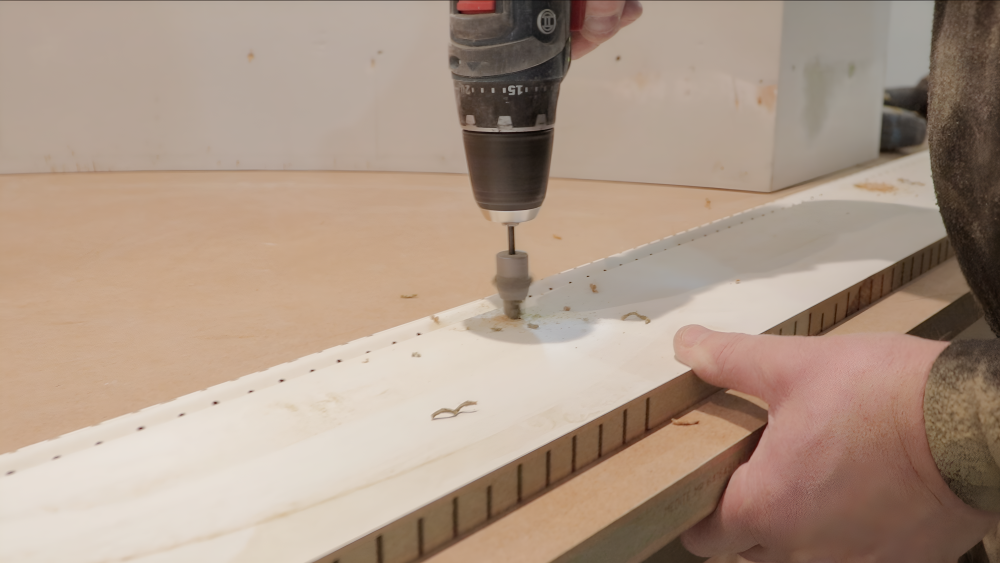
In order for the skirting board to bend into the correct shape, it needs to be held in position until it has fully cooled and completely rigid. In our example we screwed the board into position while it was hot and flexible, so we used a drill to create fixing holes before we started the heating process.
Using a drill with a countersinking attachment, we made holes at regular intervals across the face of the board to spread out the fixing points evenly.
The best method we have found to curve the flexible skirting is to gradually heat it up in smaller sections rather than going back and forth with a heat gun along the whole length.
We recommend you mark the back of the flexible skirting board at 600mm intervals to give you a visual guide to work from, so you can heat each small section one at a time to get the board up to temperature.

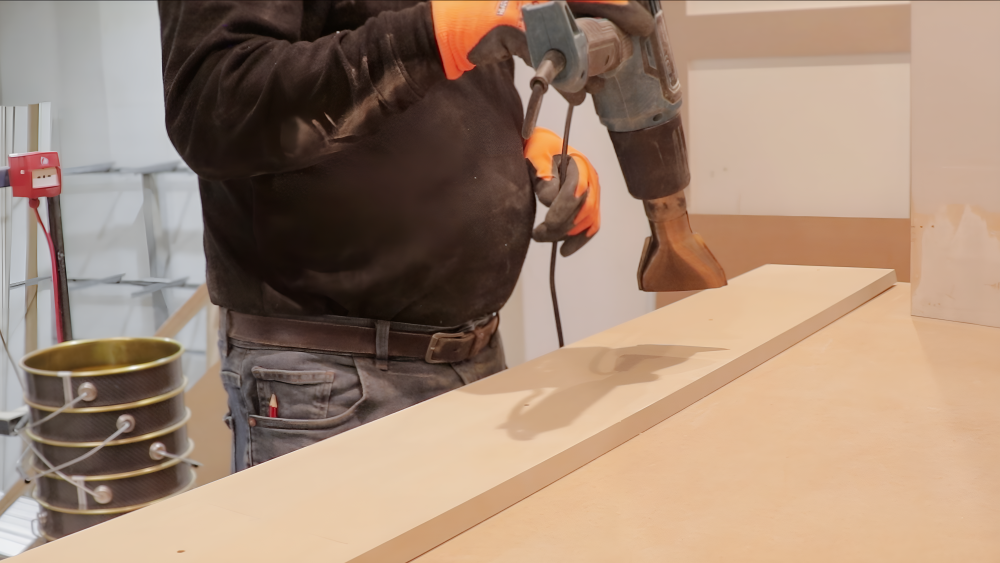
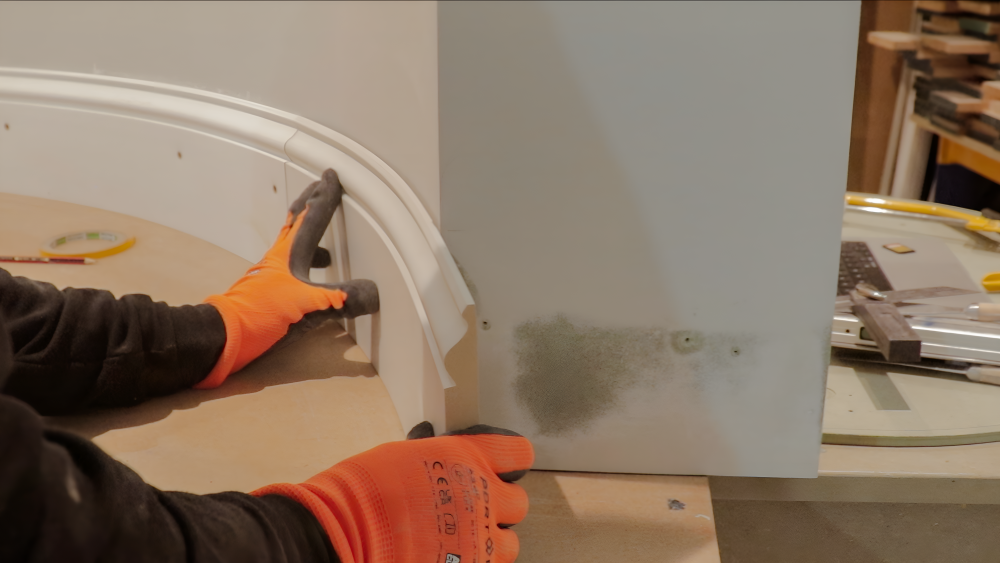
Using a heat gun positioned around 15cm away from the skirting board, begin to heat the material by moving the heat gun over each section multiple times. The board will be hot to touch, so please wear protective gloves when handling the heated material.
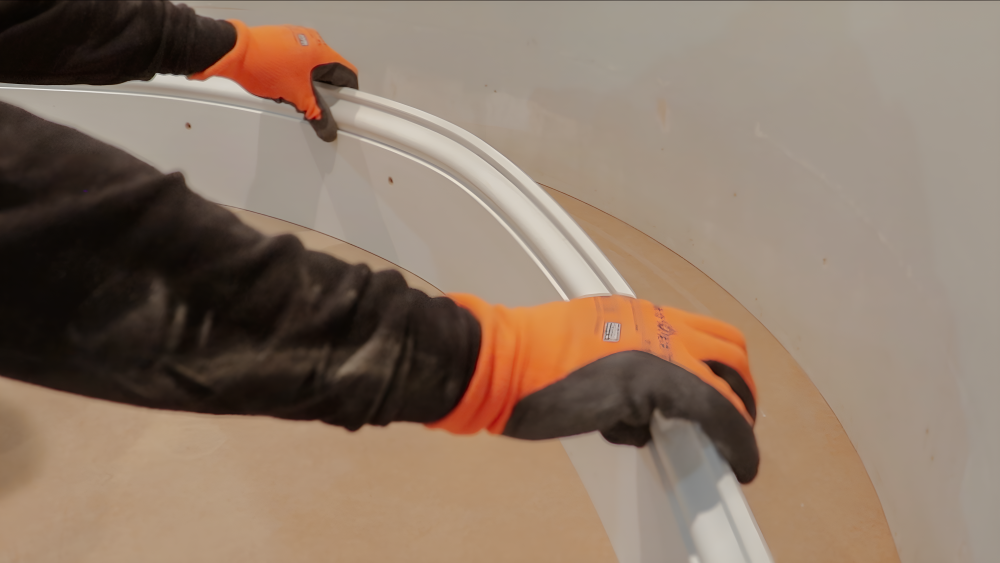
The skirting board will be ready to use when it has become supple like rubber, and no longer rigid. You should be able to easily press the skirting into position on the bay window and have it immediately form to the curve of the bay. If there is any resistance in the material, it most likely will need further heating to increase its flexibility.
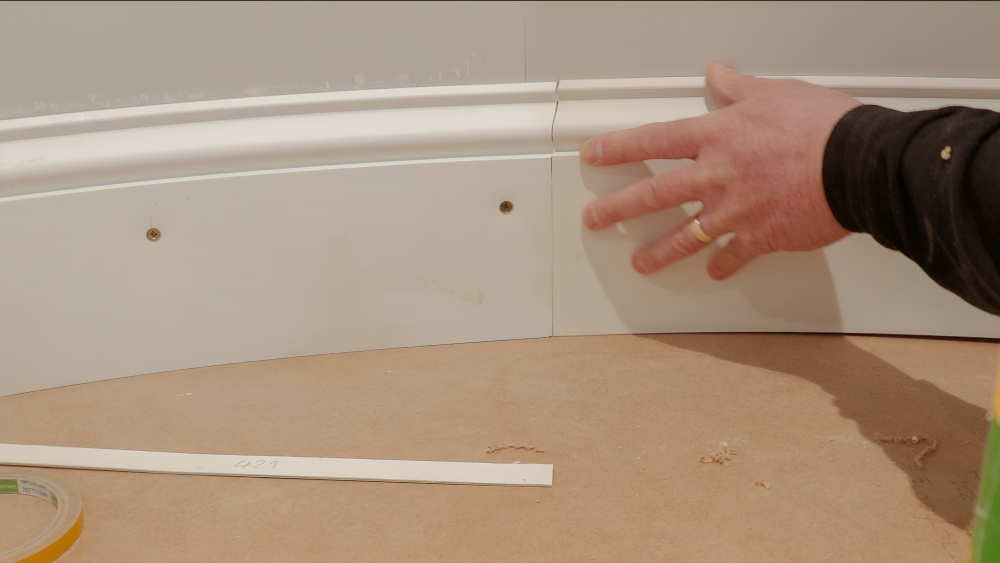
Ensure that the skirting board lines up exactly with the left-hand corner and begin fastening the skirting into position while it is still hot and malleable. Screw through the fixing holes you created to pull the skirting in tightly to the wall. The skirting board will bend accordingly to fit snugly around the curve of the bay window.
In our example, we need to complete the curve by joining a second piece of flexible skirting to the full length that has been fixed in position. To do this, start by cutting a second piece of flexible skirting to a manageable length that will definitely overhang the corner.
Note - Although we measured the exact length of the bay window earlier, this was really just to reveal whether the job could be completed with a single length or whether we would need to join two pieces together. If you were to cut the second piece to the exact length you calculated at the outset, you risk this being incorrect as the material may expand or shrink slightly depending on how it is bent into shape. It is better to fit the second piece with an overhang that can be trimmed to the exact correct size afterwards.
On the left side of this second piece of skirting, cut another 22.5 degree angle so that it will join seamlessly with the piece that has been installed. Repeat the process of drilling some fixing holes and heating it up so that it can be bent into a curve shape.
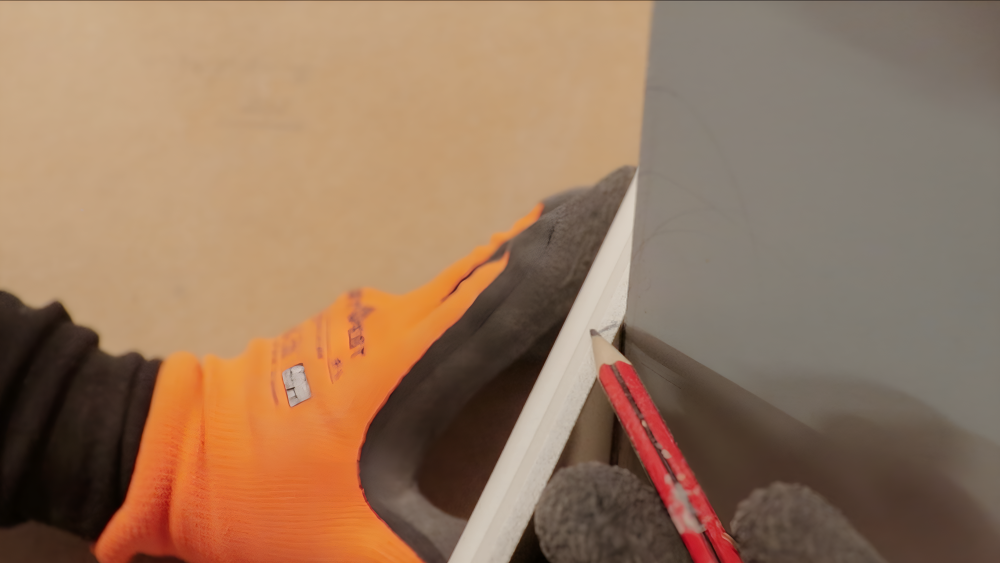
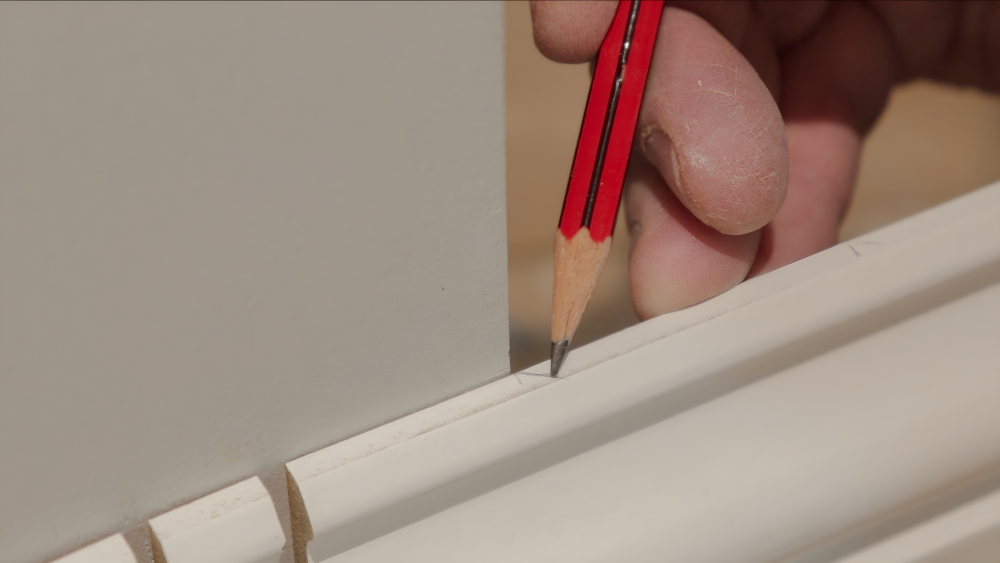
Line up this piece in position and mark off the excess on the back of the skirting. Also mark the top edge of the skirting to remind you of the direction you need to cut the angle
Pull this piece away from the wall and reheat it so that the section can be flattened out again like new. Once flattened, you can go back to the saw and cut the 36.5 degree angle on the right-hand side of this piece.
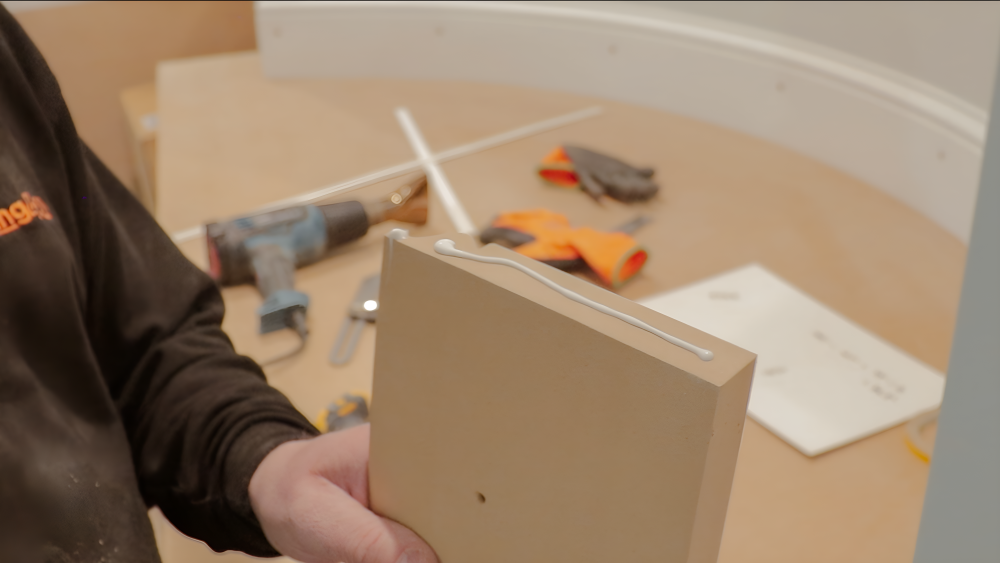
Now you’ll need to reheat the board, so that it becomes flexible again, and apply some wood glue on the left-hand side edge of the skirting board so that it can be pressed into position to form a seamless join.
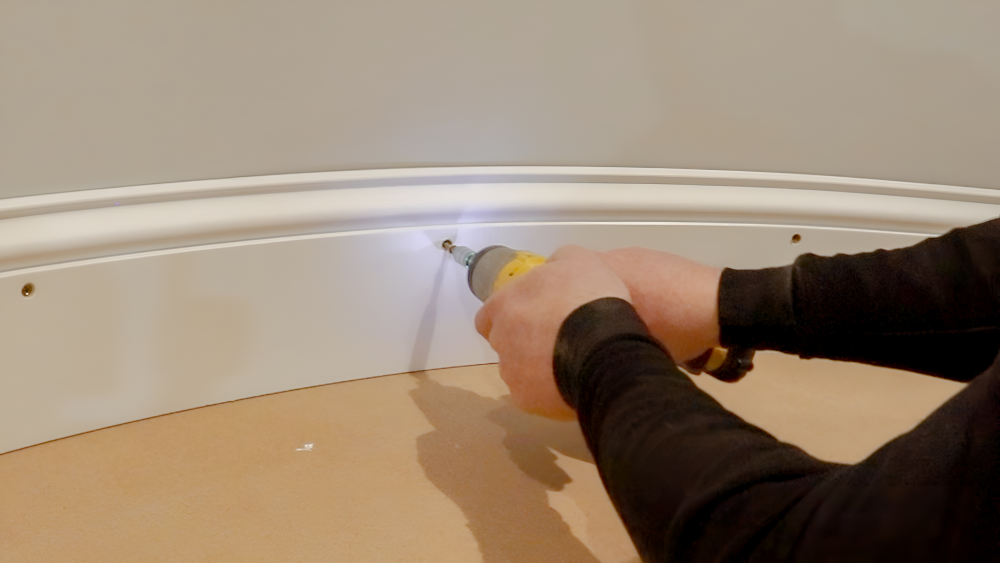
If you are happy that the pieces align correctly throughout, fix in position with screws as before.
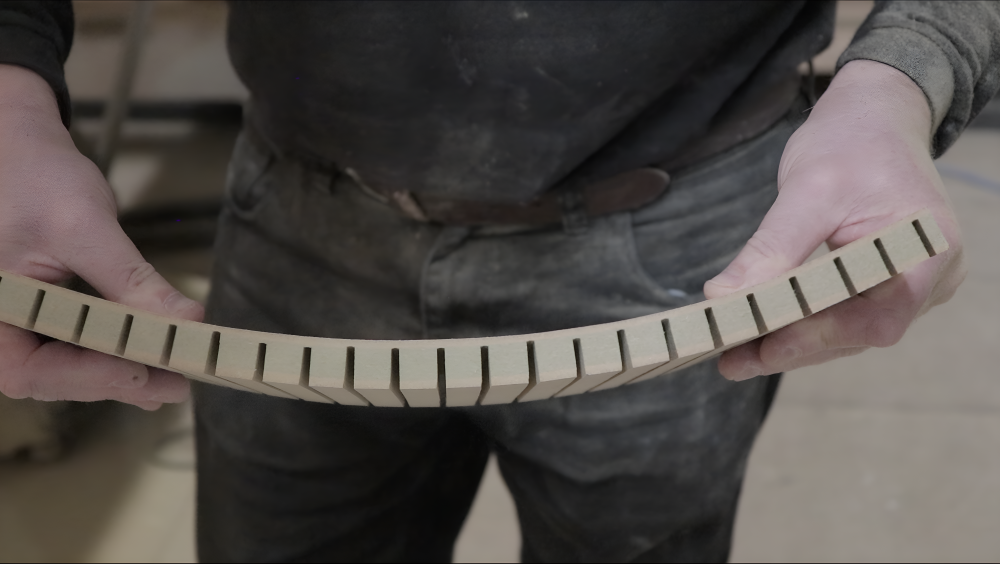
Creating the curve with MDF Skirting Board
Note - some professionals who are experienced at using this method may choose to “kerf” the entire length of the board. In this example, we have opted to leave some small sections solid, which will be where we put the fixings that will hold the skirting in position in the bay window. It is debateable which method is better, but this method is our preference.
To begin, plot out small sections on the reverse side of the skirting board that will remain solid to house the fixings. In this example we have marked out 80mm wide sections at regular intervals across the board, starting and finishing with a section at each end of the skirting. Use crosshatch markings as a reminder that these sections are not to be cut into.
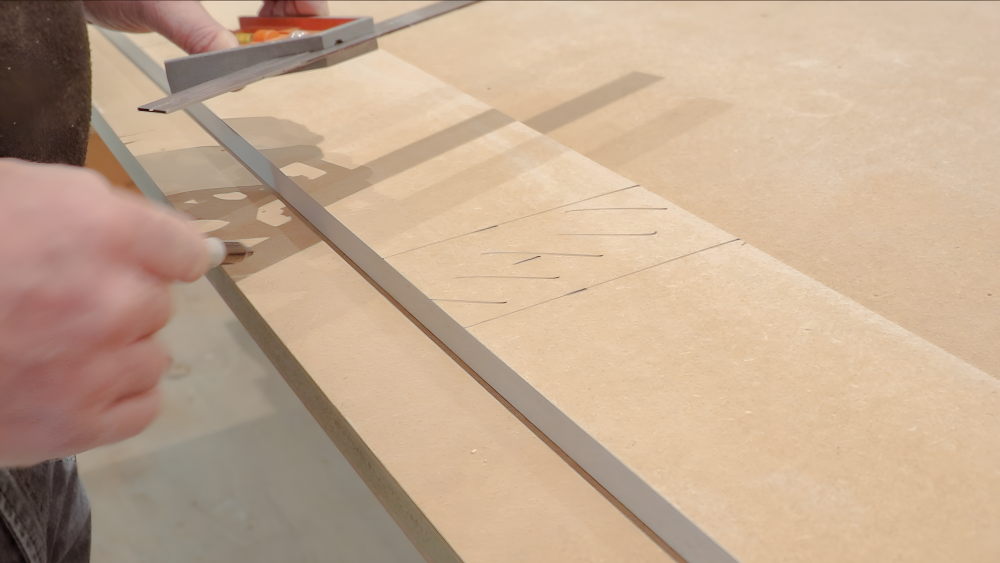
You are about to start cutting into the back of the skirting board, so it is important that you set your saw up so that you can’t cut through the entire thickness of the skirting board by accident!
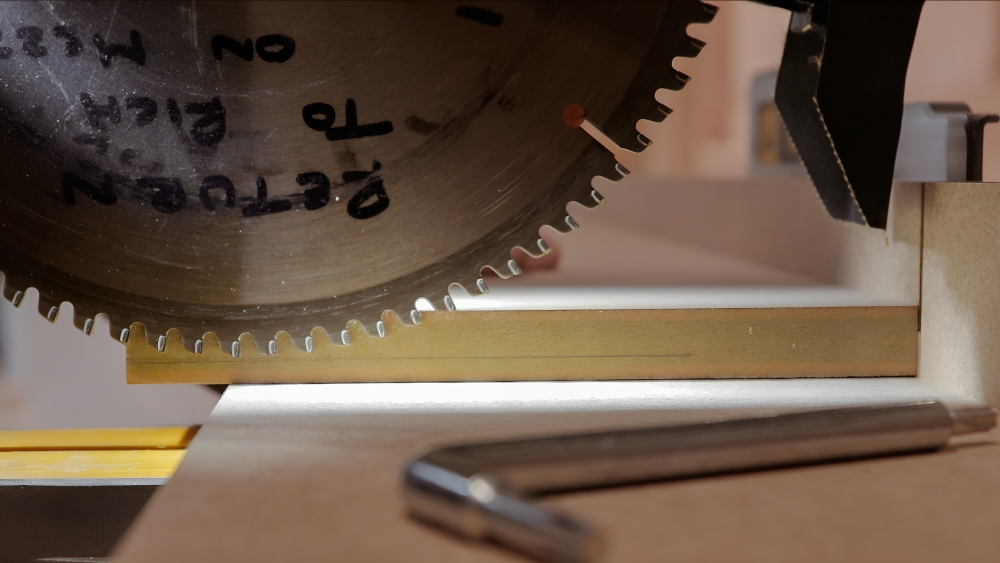
To do this, decide how much of the skirting depth you wish to cut through, and make a mark on an offcut that is the same thickness as the board you will use. In this example, we have decided to leave 5mm uncut.
Note- the amount you leave will be determined by the profile (design) of skirting board. If the profiled section is much thinner than the flat section, you might end up cutting all the way through the entire profile, which isn’t ideal, so we would recommend practicing the technique on a spare length before committing to doing it for real if you are inexperienced.
Bring the blade of your saw down to the marked line and lock the saw off so the blade cannot go any lower.
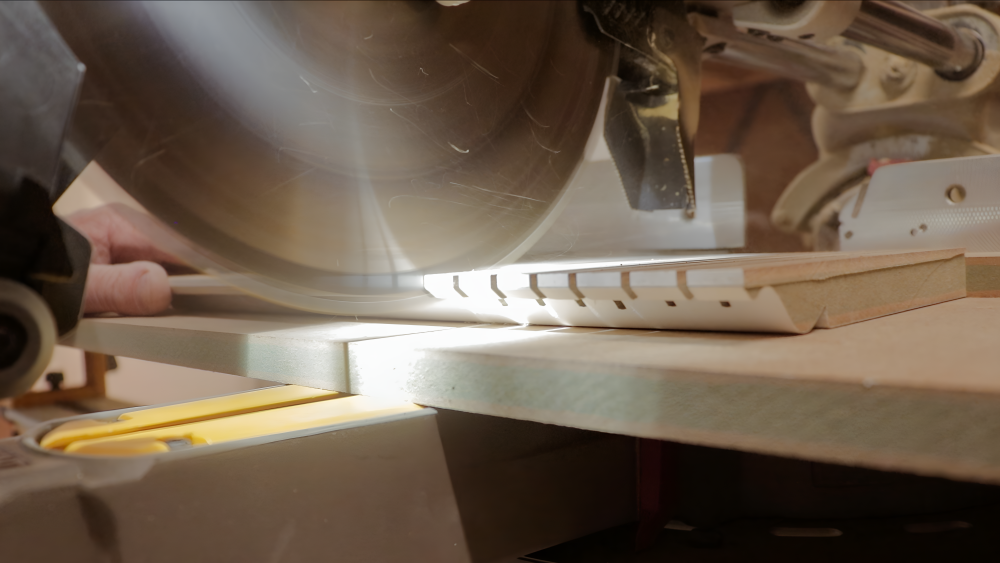
Proceed to cut into the back of the board at 15-20mm intervals along the entire skirting board, avoiding the sections marked out as fixing points. The skirting board will now be very flexible, but delicate - so make sure to handle it with care and keep it properly supported when handling it so as not to cause it to snap.
Using a drill with a countersinking attachment, drill holes in the face of the skirting board in the 80mm spaces you left clear earlier.
Offer the skirting board into the bay window and gently push it into position until it is properly following the curve of the bay window. Leave a generous overhang at each side, and screw the board into position.
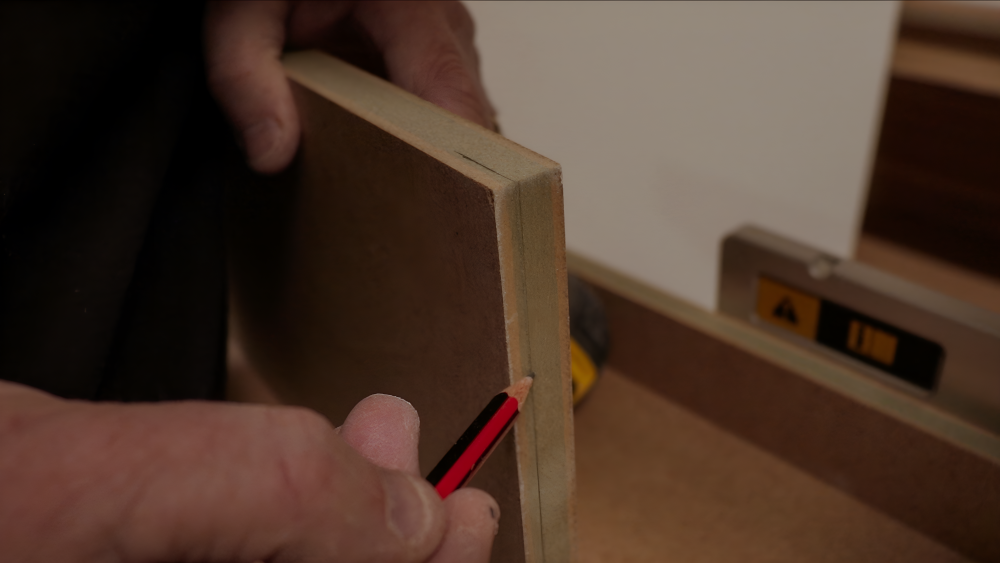
Now, take a pencil and make a mark at each end where the skirting will need to be cut to trim it to size. Each side will be cut to 36.5 degrees, as we calculated earlier (or whatever angle you calculated for your own situation), so be sure to make the marking in a way that will remind you of the direction the angle needs to be cut when you take the skirting back over to the saw.
Now, remove the skirting from the wall and take it back over to the saw. Trim each end of the skirting board to size by cutting your 36.5 degree angle on each side in the direction you marked it previously. Once this is done, the skirting can be fixed in position again in the bay window, taking care to ensure it is lined up correctly at each corner, and the skirting is tight to the curve of the bay window.
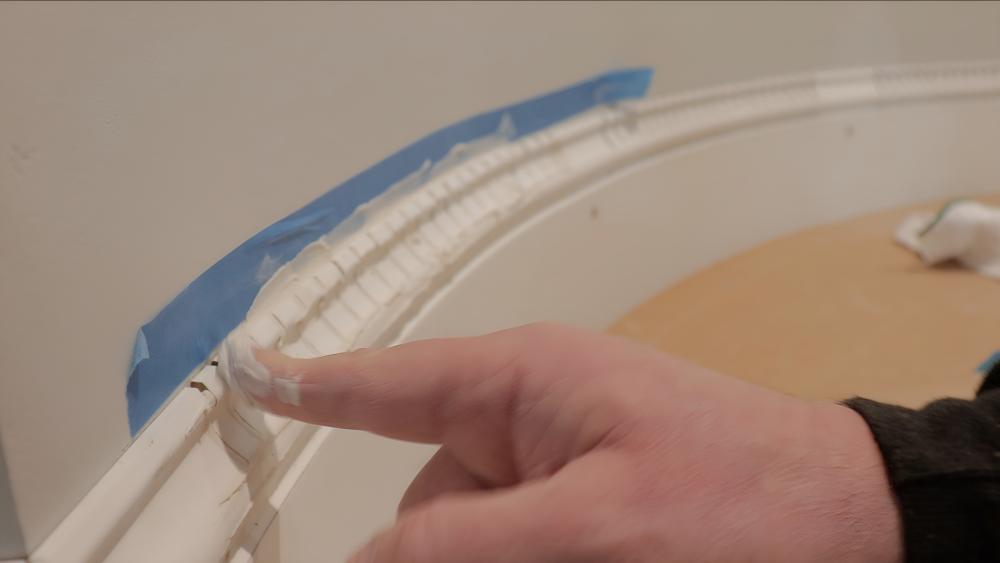
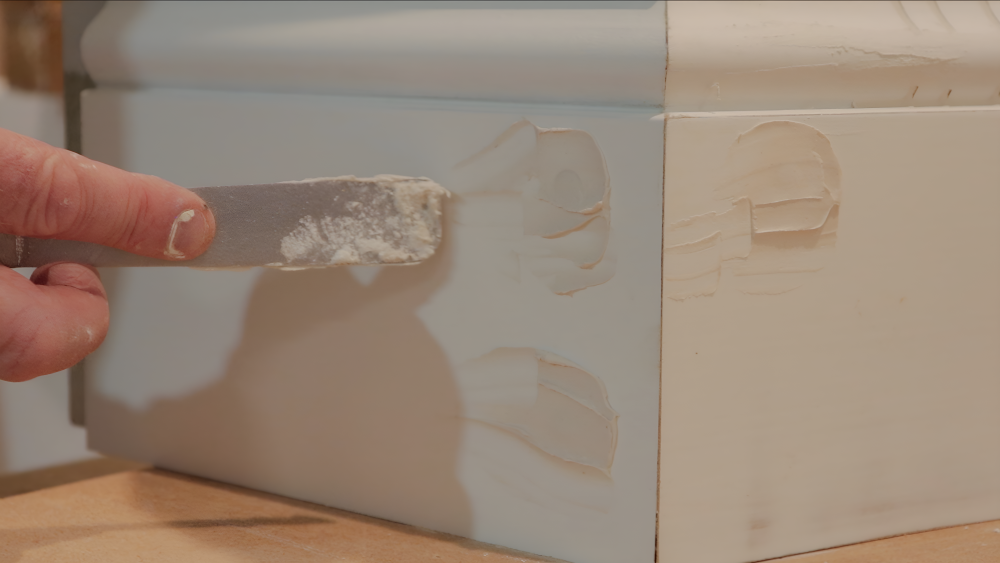
At this stage there will be lots of gaps in the profile section of the skirting board. You will need to fill these by applying a filler of your choice into the gaps using a flexible pallet knife, or your finger for more intricate parts of the profile.
Use masking tape to protect the wall along the top edge of the skirting board and apply filler with your finger here to fill the gaps on along the top edge of the skirting.
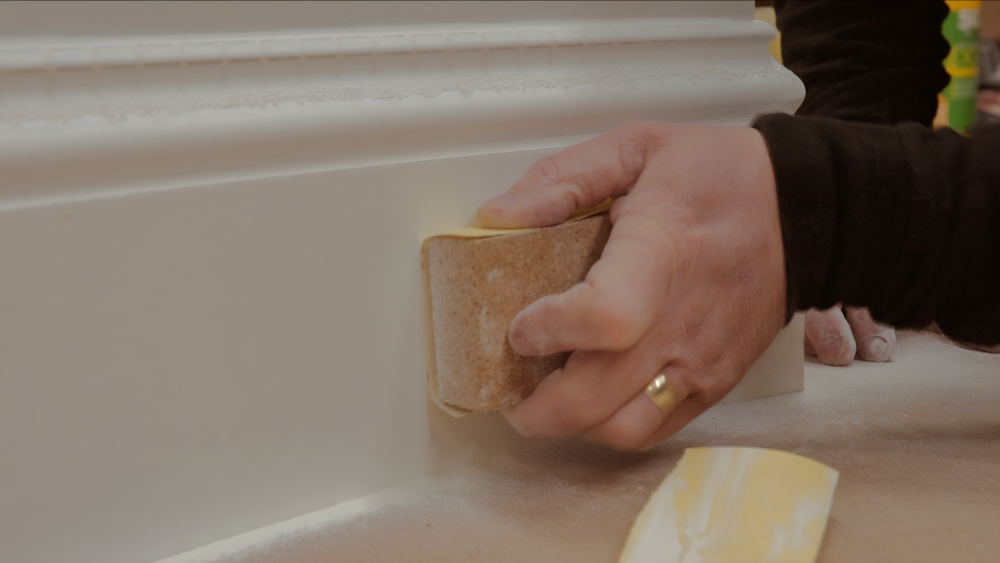
Using a damp cloth, wipe away any excess filler and leave it to dry out thoroughly in accordance with the directions for the filler you have chosen to use. Once it is dry, you may need to repeat the filling process once or twice more to completely fill in the gaps. Once this process is completed, use a p80 sandpaper to sand the skirting board until it is completely smooth and ready to paint.
Joining the curved skirting board to regular skirting boards
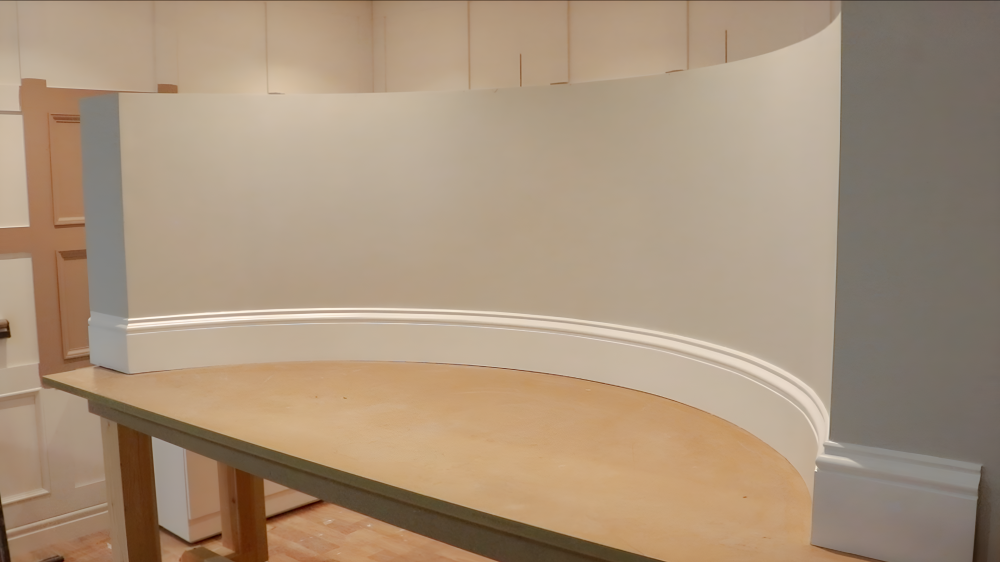
Whether you opted for flexible skirting board or kerfing an MDF skirting board, you will now have fitted skirting board around the entire curve of the bay window. Now you will need to continue the skirting around the room by completing the external corner joins at each side of the bay window where the shape of the room stops being a curve and returns to being a straight wall.
To do this, measure from the edge of the bay window outwards to the next corner or obstacle and cut the skirting to length. In this example, we are working with a scale model of a bay window, so we are only extending by a short section on each side.
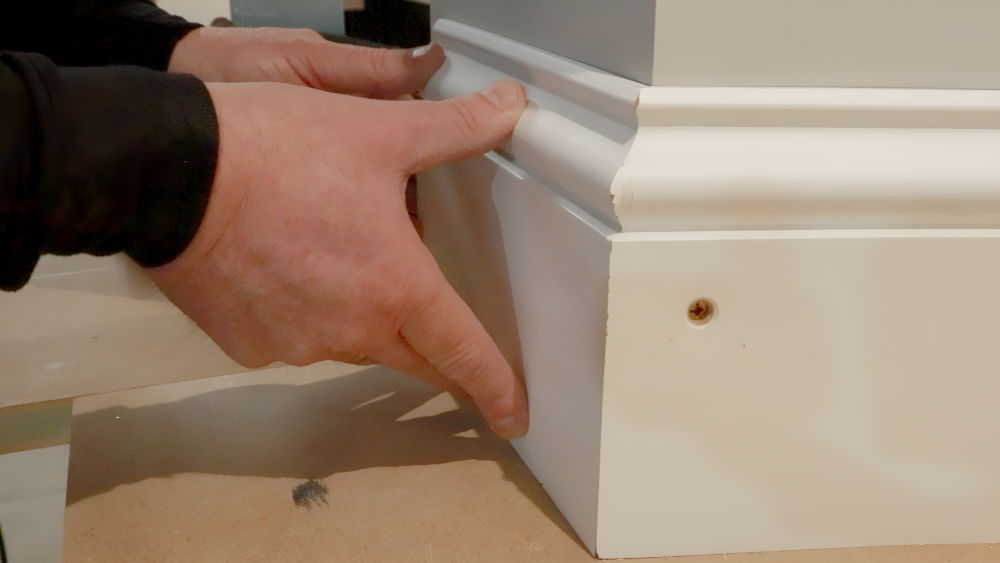
Cut your 36.5 degree angle on the correct side of the piece of skirting board, making sure that the angle is being cut in the right direction so that it aligns with the curved skirting board perfectly to create a flawless external corner joint. Once you have checked everything is as it should be, use mitre glue and activator spray on the two pieces being joined and press them together to form a tight corner. Repeat this process for the other side of the bay window.
Tidy up any gaps and imperfections with filler
This is almost self-explanatory but included here for the sake of completeness. Now that all the skirting board is installed, use an appropriate filler of your choice to fill in all the fixing holes and any other imperfections on the face of the skirting board and allow it time to dry.
When the filler has properly hardened, sand off any excess to leave a smooth surface all along the skirting.
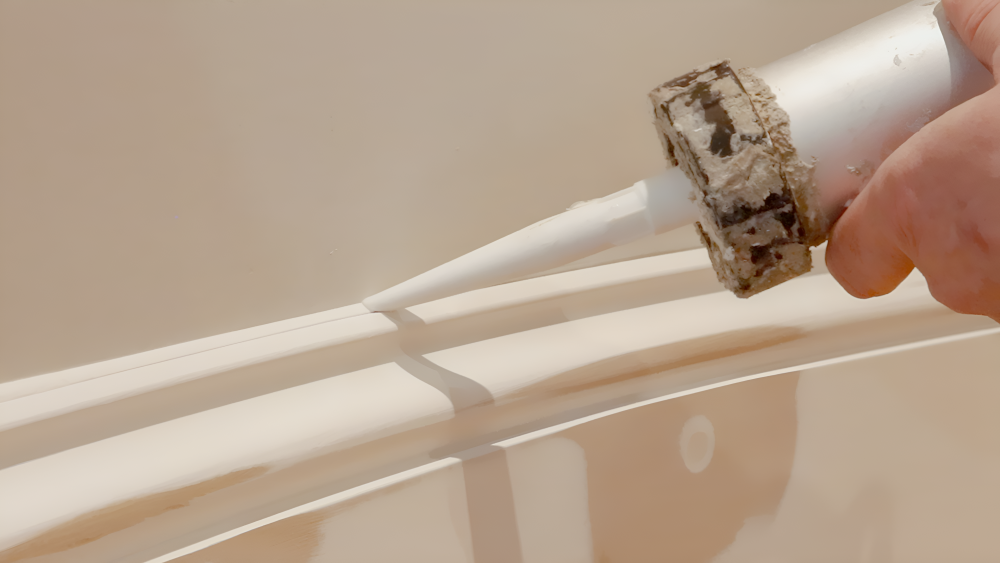
Use caulk to seal the top edge of the skirting board
To finish the job off perfectly, run a bead of caulk along the top edge of your skirting boards to seal any gaps between the skirting board and the wall, and remove any excess by running your finger back along the top edge. Leave the caulk to dry for the appropriate amount of time and the job is now complete- congratulations!