Sometimes internal doors are located so close to an adjoining wall that there isn’t enough space between the door frame and the wall to be able to install a standard width architrave.
In some instances, you may decide to try and source a thinner architrave to surround the whole door, or as in this case, trim down one length of the architrave so that it fits in the gap.
We've put together a video guide and this blog to showcase how to fit architrave when the door frame is close to the wall...
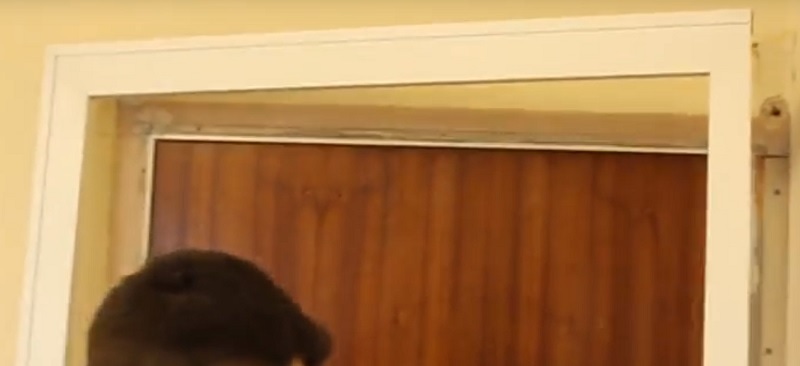
Here is what we're looking to achieve...
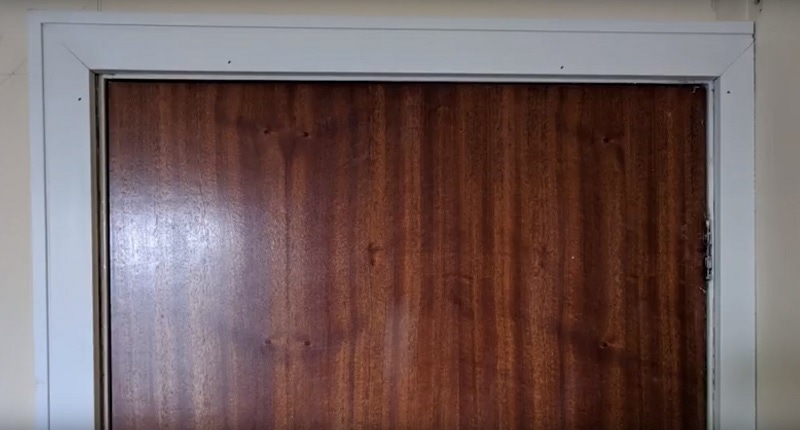
The challenge this solution creates is that because one side of architrave is thinner than the architrave used for the header and second upright, the positioning of the cuts used to make a mitre joint changes from the standard practice we have previously outlined in another article (fitting architrave).
You begin the same
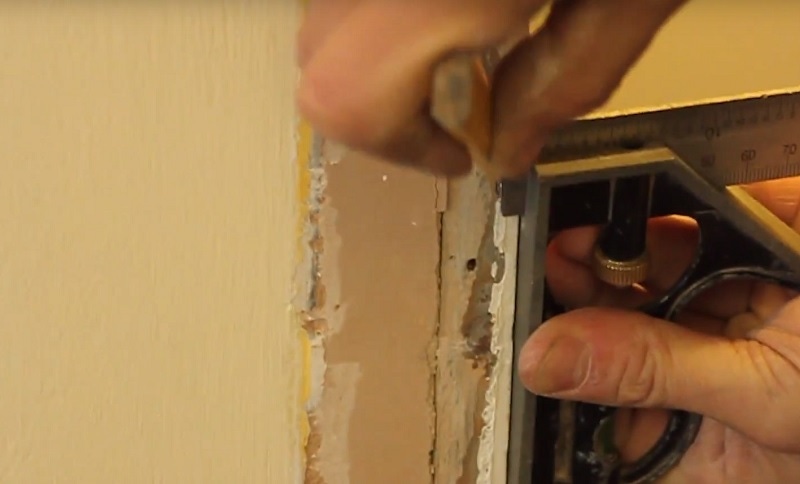
Cutting the ‘header’ or ‘crossbar’ section of the architrave is the most important here and this will be the piece that you measure and cut first. Hold a length of architrave in position across the top of the door frame so that it aligns with the pencil markings and is level.
Similar to the way you would usually measure up for the
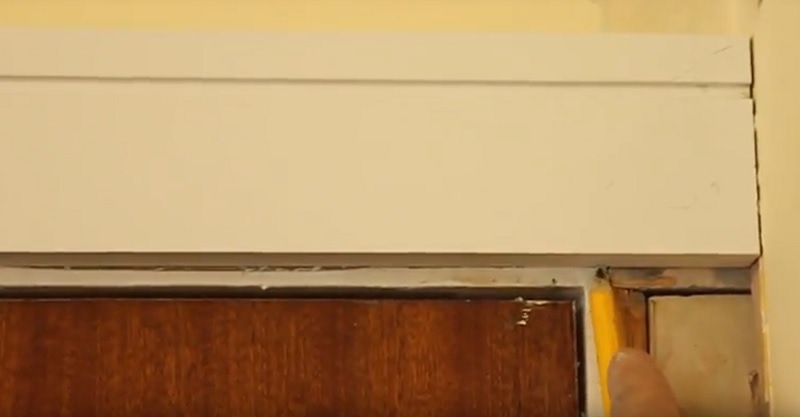
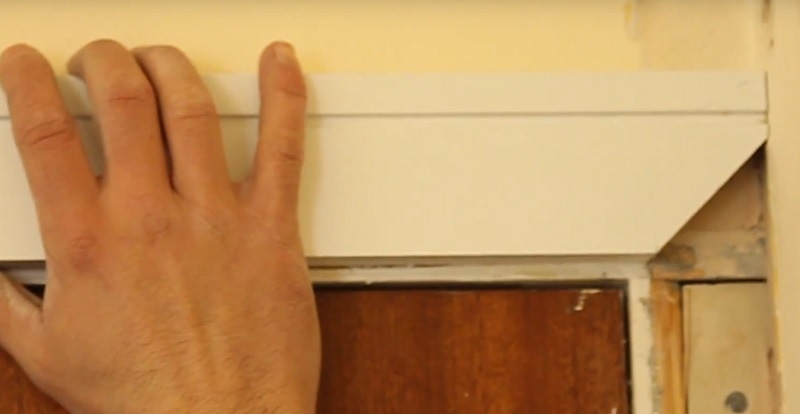
The difference with this installation is that the initial cut will not disturb the top edge of the architrave. The architrave will still be cut at 45 degrees, but because the adjoining upright architrave length will be thinner overall than the header, you will actually be removing a section from the underside of the length rather than cutting across the whole length. This picture below illustrates the point, though we recommend watching the video as it is a difficult process to explain clearly with words only!
You may also need to trim down the overall width of one of the architrave uprights for it to fit in the space between the door frame. One thing to be mindful of is the fact that your walls may not be perfectly square, and so there may be a difference in width at various points along the space in which the architrave is going to be installed. A good idea is to measure the gap in multiple places along its length to establish whether or not this is the case before proceeding to cut the architrave.
Having measured the space in which the upright is to be installed using a tape measure, make as many markings as you deem necessary along the length of architrave to ensure you cut it to the correct size. In the example in our video, we made 2 different pencil markings at each end of the length of architrave and joined them up with a solid pencil line using a straight edge. Depending on the condition of your walls you may wish to plot more points than this to ensure a good fit.
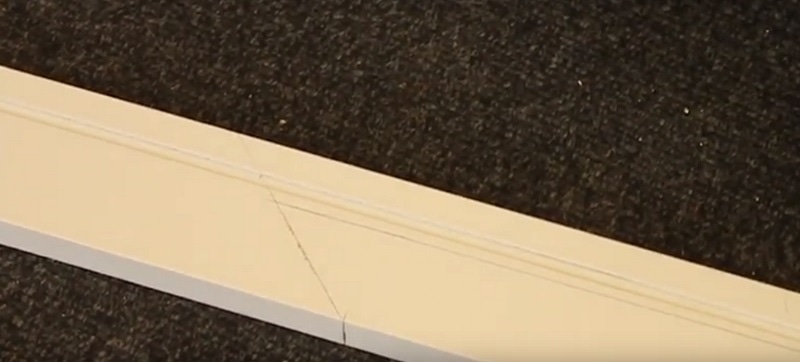
You should now have an upright length of architrave with a solid pencil line along the full length on the face to show where the piece needs to be cut in order that it becomes the correct fit for
Hold the upright against the door frame and mark the point where it meets the corner of the pencil markings you drew at the beginning of the installation process. Mark the face of the architrave to remind you which direction to cut the
This upright section of architrave can now be cut to size. Firstly use the mitre saw
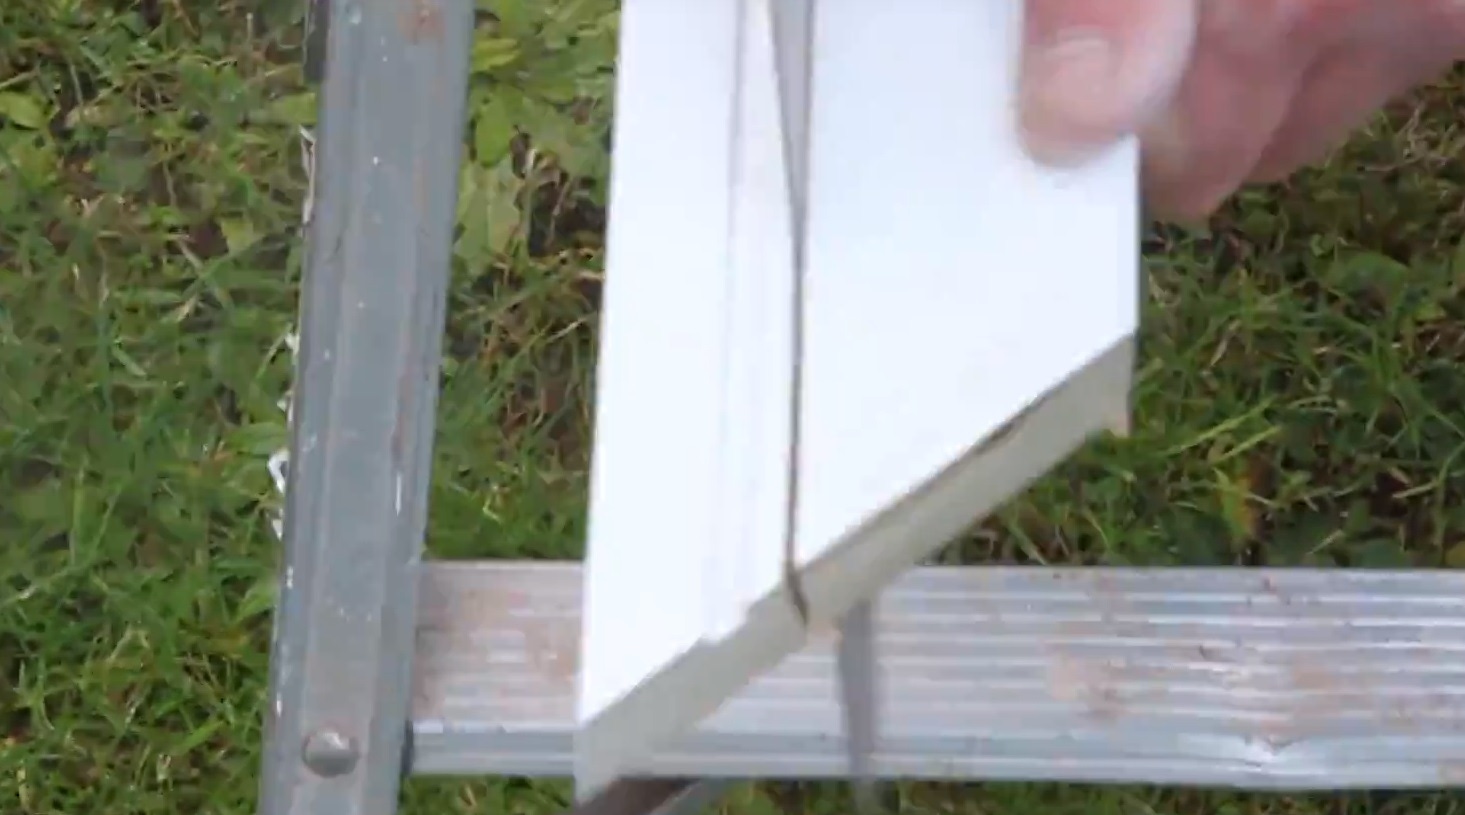
Now that the upright has been cut to size, hold it back up to the wall in position to check that it fits properly and that you are happy to proceed with
You will need to cut
Now that all three sides of the architrave have been properly cut to size, you need to fix them together to make a complete frame. You can use an adhesive called Mitre Fast to fix the mitre joints together. When the adhesive is dry and the frame is solid it can be fixed in place using a nail gun or another adhesive like no more nails or Gripfill.
About the Author
Kieron Miller is the Managing Director of Skirting 4 U and has been working in the skirting board and online retail industry since 2012. Kieron has been using his extensive product knowledge and problem-solving experience to help both trade and private consumers all over the country find the perfect skirting board products for their projects. He continues to innovate new solutions and product ideas as the market continues to grow.