Your basket
There are no more items in your basket
Please call us on 01922 451 689
Opening Hours Mon-Fri 8:30AM - 5:00PM

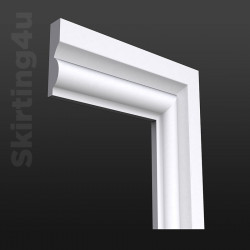
How to Use Architrave to Create a Frame for Your Window
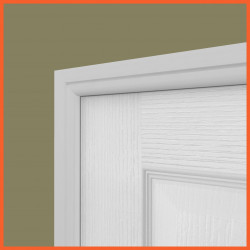
Installing a frame around a window is a great design statement that becomes a natural continuation of your chosen moulding style and helps bring different interior elements together more cohesively.
We've prepared a video guide and a step by step guide below which shows you how to fit architrave around your window.
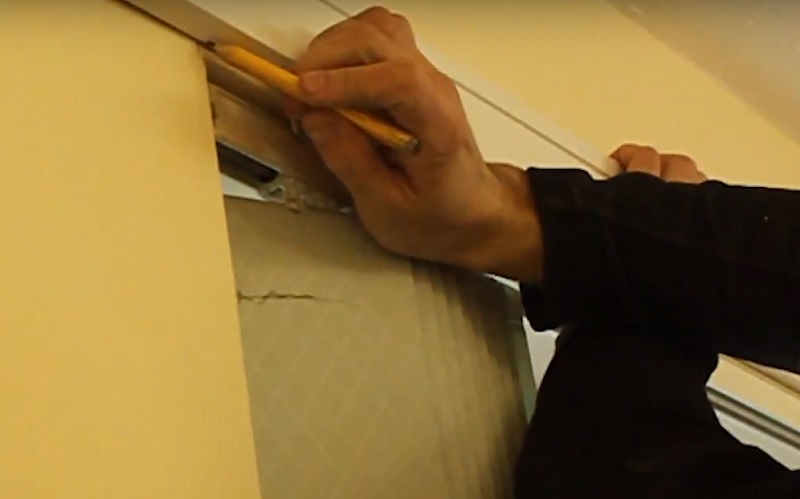
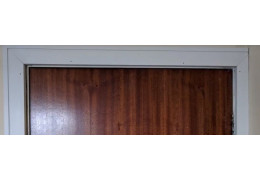
To begin installing a window frame, you must first mark out where the architrave is to be positioned. To do this, grab a set square and pencil and make regular markings around the perimeter of the window, 5mm from the edge as you would before fitting architrave around a door.
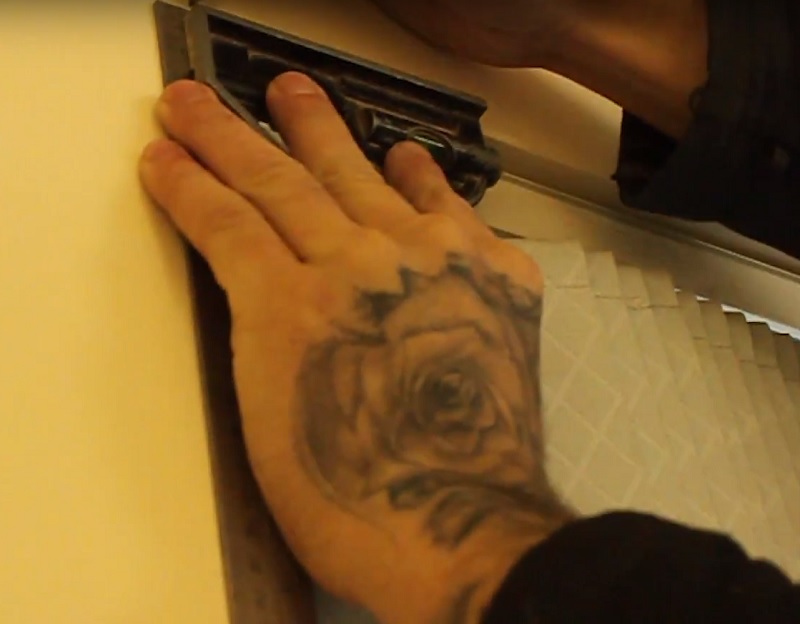
With the markings in place, hold a length of architrave in line with the base of the window, or window sill if the sill is wider than the aperture. Make sure the architrave is in line with the markings on the wall. Make a marking on the architrave length at the point where the vertical wall markings meet the horizontal wall markings to form a corner. This will indicate where to begin your mitre cut.
On the face of the architrave, draw a light pencil marking to indicate the direction of the mitre cut so you do not forget on your way to the saw!
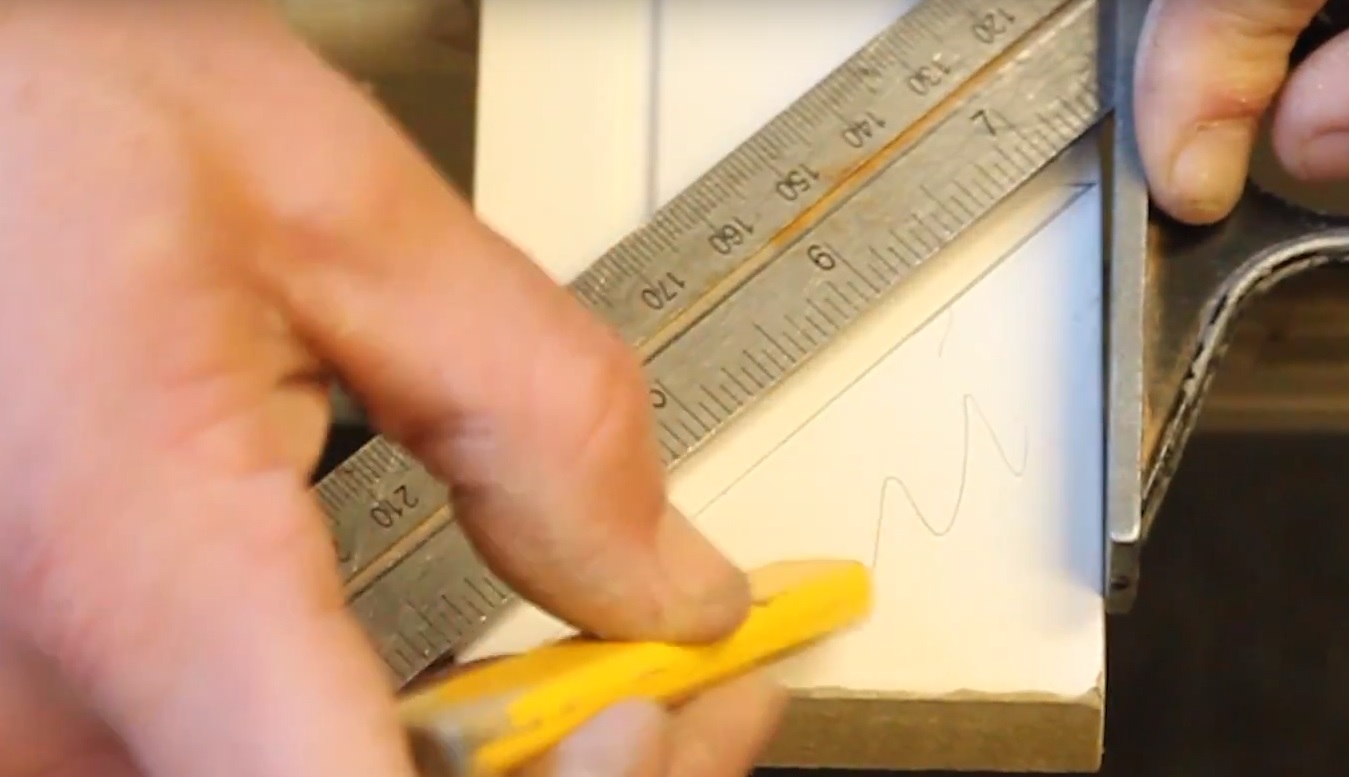
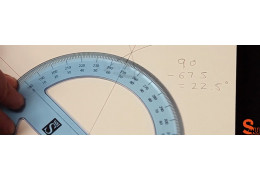
Use a mitre saw to create the 45-degree angle at the top of the length of architrave, cutting this piece to size. Repeat these steps to create the second upright piece.

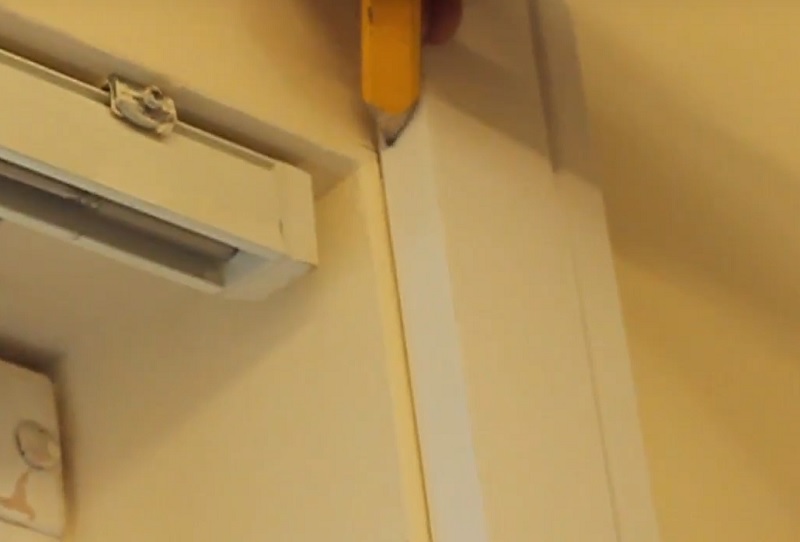
To fit the top section of the frame (or ‘crossbar’), position a length of architrave across the top of the window horizontally in line with the pencil markings you added initially as a guide. Like before, you now need to mark on the architrave in pencil where the architrave needs to be cut in order for it to be the correct size. As before, mark the face of the architrave to show the direction that the mitre needs to be cut.
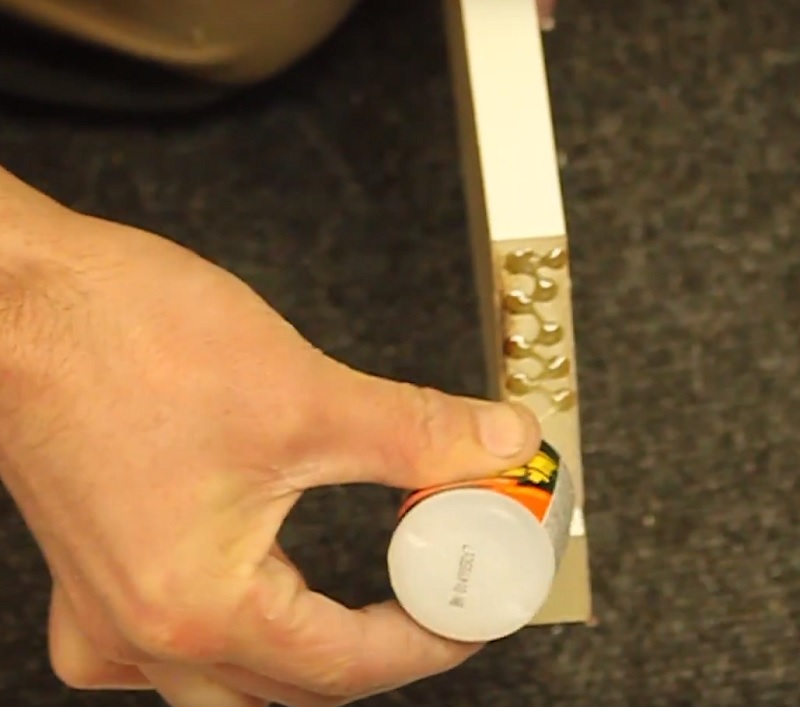
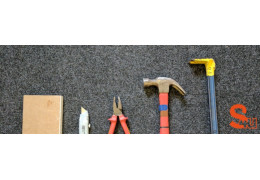
Once the two uprights and crossbar have been properly cut to size with 45-degree angles, you now need to join the frame together. In the video, we are using an adhesive called Mitre Fast which works very well. Assemble the frame by glueing all 3 sections together and allow the glue to set.
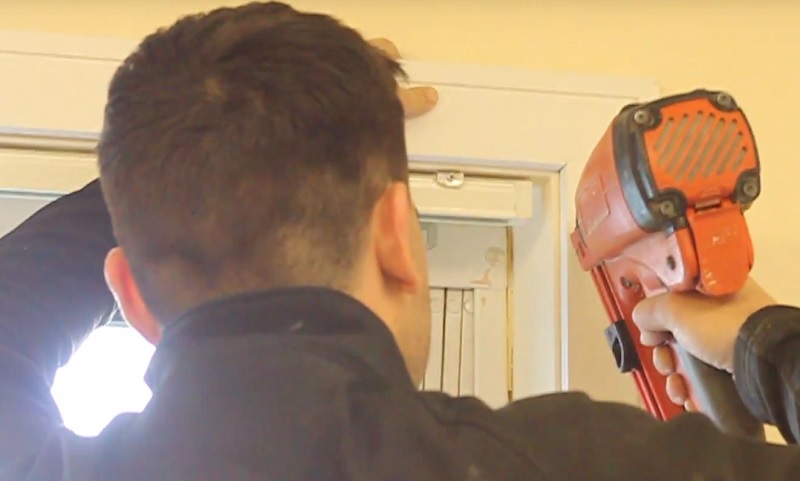
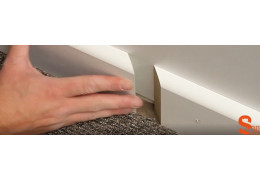
With the frame assembled and the joints firmly stuck together, lift the completed frame into position around the window, again making sure it aligns with your pencil markings. When you are happy with the positioning of the window frame, use a nail gun to fix the frame into position on your wall.
About the Author
Kieron Miller is the Managing Director of Skirting 4 U and has been working in the skirting board and online retail industry since 2012. Kieron has been using his extensive product knowledge and problem-solving experience to help both trade and private consumers all over the country find the perfect skirting board products for their projects. He continues to innovate new solutions and product ideas as the market continues to grow.
Related products
-
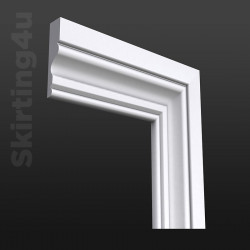
Bullnose Groove MDF Architrave
Price: £0.00Our Bullnose Groove architrave is a contemporary design that is perfect for... -
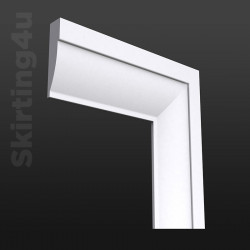
Bullnose Groove 2 MDF Architrave
Price: £0.00Our Bullnose Groove 2 architrave is a modern take on the classic Bullnose... -
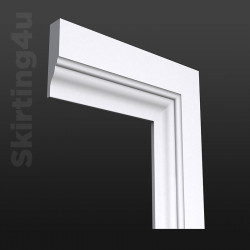
Bullnose MDF Architrave
Price: £0.00Bullnose architrave is widely used and is one of our more popular profiles.... -
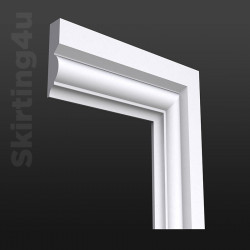
Edge MDF Architrave
Price: £0.00The edge architrave is similar to the Chamfer profile, with a smaller bevel... -
Edge 2 MDF Architrave
Price: £0.00Our Edge 2 architrave (sometimes referred to as ‘scotia’) is a bold... -
Edge Groove MDF Architrave
Price: £0.00The Edge groove architrave is the regular Edge design with the addition of... -
Edge Groove 2 MDF Architrave
Price: £0.00The Edge Groove 2 is a design that brings together the most striking... -

Marlie MDF Architrave
Price: £0.00Marlie architrave is a design that is exclusive to Skirting 4 U. It is a... -

Mini Bullnose MDF Architrave
Price: £0.00Mini Bullnose architrave is sometimes referred to as ‘Pencil Round’ or... -

Ripple MDF Architrave
Price: £0.00Our Ripple architrave is very different to almost all other architrave in... -
Ripple 2 MDF Architrave
Price: £0.00The Ripple 2 is very much a statement architrave. Being extremely bold in... -

Square MDF Architrave
Price: £0.00Square architrave continues to be hugely popular with both private and... -
Square Groove MDF Architrave
Price: £0.00Square Groove architrave is another modern profile that has remained... -
Square Groove 2 MDF Architrave
Price: £0.00Square Groove 2 architrave is by far and away the most popular modern... -

Torus 1 MDF Architrave
Price: £0.00Our Torus 1 architrave is an absolute classic. It is extensively used... -
Antique MDF Architrave
Price: £0.00The intricate detailing in our Antique Architrave creates the perfect... -
Asmara 3 MDF Architrave
Price: £0.00The Asmara 3 Architrave, with its bold styling and clean lines is very much... -

Colonial MDF Architrave
Price: £0.00Our Colonial architrave is a replica of a design that was common in the... -
Regency MDF Architrave
Price: £0.00Regency architrave is not too dissimilar to the Ogee style in terms of... -
Skirt4U 327 MDF Architrave
Price: £0.00The 327 design of architrave is something of a departure from traditional... -
Skirt4U 330 MDF Architrave
Price: £0.00Our 330 architrave brings together the best elements of our 327 and 324... -
Antique 2 MDF Architrave
Price: £0.00The Antique 2 Architrave profile is a less complex version of our Antique... -
Asmara 4 MDF Architrave
Price: £0.00The Asmara 4 Architrave is an intricate homage to classical period design.... -

Asmara 5 MDF Architrave
Price: £0.00The Asmara 5 Architrave has a contemporary styling that is a seamless blend... -
Chamfer MDF Architrave
Price: £0.00Chamfer architrave is a moulding in which its clean-cut yet elegant... -
Edwardian MDF Architrave
Price: £0.00Our Edwardian architrave design is an homage to styles widely used in homes... -
Georgian MDF Architrave
Price: £0.00Our Georgian architrave is inspired by architrave designs used throughout... -
Lambs Tongue MDF Architrave
Price: £0.00The Lambs Tongue architrave is a widely-known style and is something of a... -
Ogee MDF Architrave
Price: £0.00Ogee architrave has really stood the test of time and remains a firm... -
Ogee 2 MDF Architrave
Price: £0.00Ogee 2 architrave has been introduced to offer an alternative to the... -
Ovolo MDF Architrave
Price: £0.00Ovolo architrave is another profile that is widely known and sought after... -
Roux MDF Architrave
Price: £0.00Roux is an architrave design that is exclusive to Skirting 4 U. Since it... -
Skirt4U 324 MDF Architrave
Price: £0.00The design of our S4U 324 profile is based upon the ever-popular Torus... -
Torus 2 MDF Architrave
Price: £0.00The Torus architrave is by far the most commonly purchased profile we... -
Victorian MDF Architrave
Price: £0.00Our Victorian architrave design is manufactured to sympathetically... -
Victorian 2 MDF Architrave
Price: £0.00Our Victorian 2 profile is a second variation of an architrave design that... -
Windsor MDF Architrave
Price: £0.00Windsor architrave is one of our more exclusive, decorative architrave... -

Stepped MDF Architrave
Price: £0.00Stepped architrave is a visually striking design that is a great choice if...
Related posts
-
 How to Measure and Cut a Skirting Board for an Internal Wall Joint by Bisecting
In this guide, we will showcase how to measure and cut skirting board for an internal wall joint by bisecting an angle.Read more
How to Measure and Cut a Skirting Board for an Internal Wall Joint by Bisecting
In this guide, we will showcase how to measure and cut skirting board for an internal wall joint by bisecting an angle.Read more -
 How to Fit Architrave When the Door Frame is Close to the Wall
Sometimes internal doors are so close to adjacent walls that fitting architrave is difficult. This tutorial will...Read more
How to Fit Architrave When the Door Frame is Close to the Wall
Sometimes internal doors are so close to adjacent walls that fitting architrave is difficult. This tutorial will...Read more -
 How to join two pieces of skirting board together on a flat wall
A tutorial showing how to join two pieces of skirting board together on a flat wall.Read more
How to join two pieces of skirting board together on a flat wall
A tutorial showing how to join two pieces of skirting board together on a flat wall.Read more -
 Step by Step Guide - How to Remove Skirting Board and Architrave
A video and written tutorial to show how to remove a skirting board.Read more
Step by Step Guide - How to Remove Skirting Board and Architrave
A video and written tutorial to show how to remove a skirting board.Read more -
 How to Join Square Groove Skirting Board and Architrave
One of the foremost attractions of the square groove/square groove 2 profiles is that the can be fitted so that the...Read more
How to Join Square Groove Skirting Board and Architrave
One of the foremost attractions of the square groove/square groove 2 profiles is that the can be fitted so that the...Read more