Plinth blocks and rosettes are traditional, decorative transition pieces that enable easy and stylish joins between skirting boards and architrave. In this blog, we provide the important details you will need to know in order to fit these products successfully.
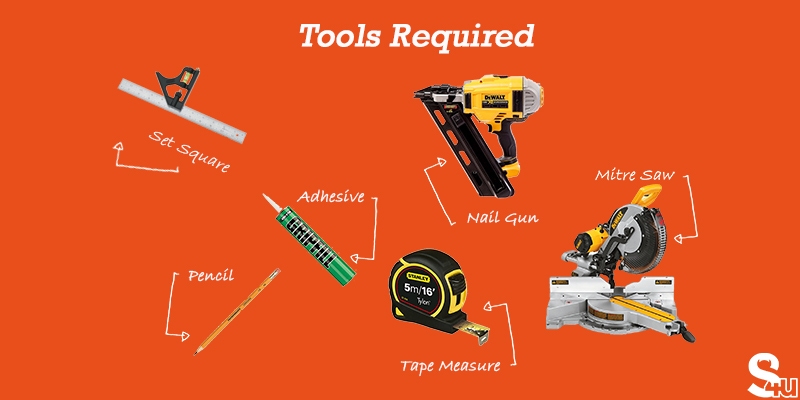
Tools Required:
- Set Square
- Pencil
- Nail Gun
- Adhesive
- Tape Measure
- Mitre Saw
For those who find it easier, here is a video guide on how to fit plinth blocks and rosettes:
Plinth Block Placement
If you have read our blog on how to install architrave, you will know that we recommend fitting architrave with a 5mm gap between the outside edge of the architrave and the door frame. The plinth block is generally placed flush with the door frame so that the architrave runs into the plinth centrally. The plinth block is always sized slightly wider than the architrave for this reason.
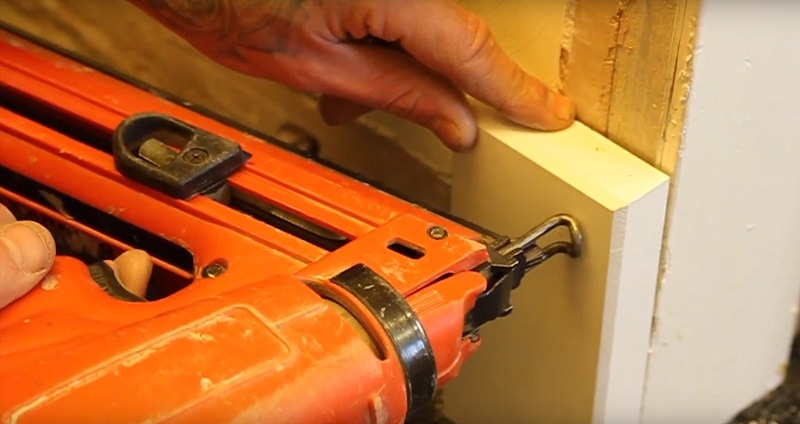
Installing Plinth Blocks
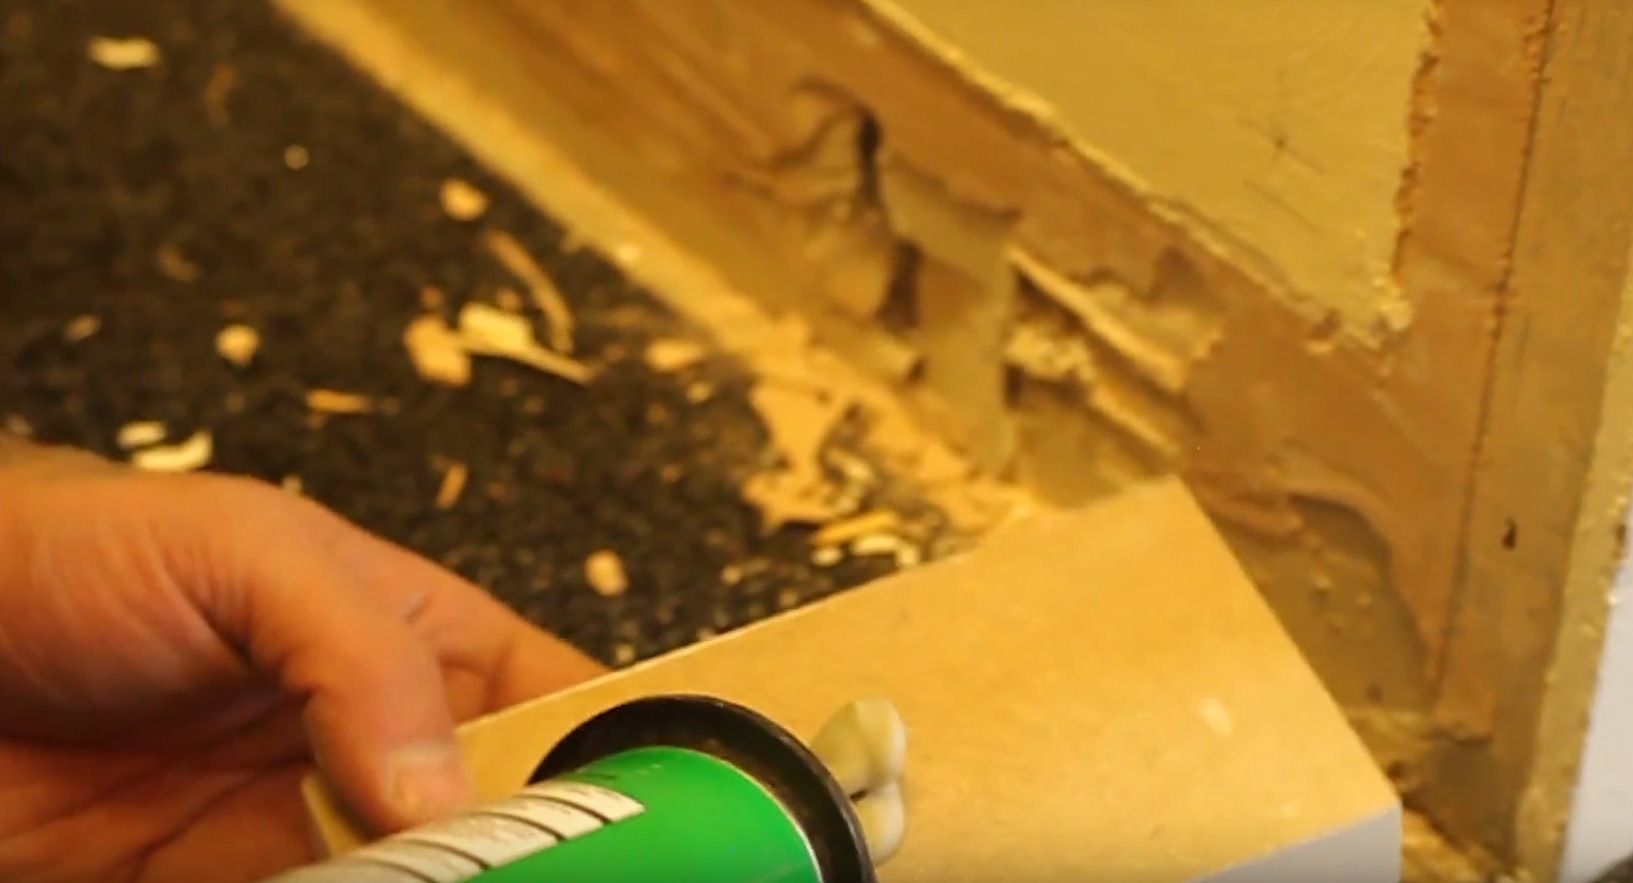
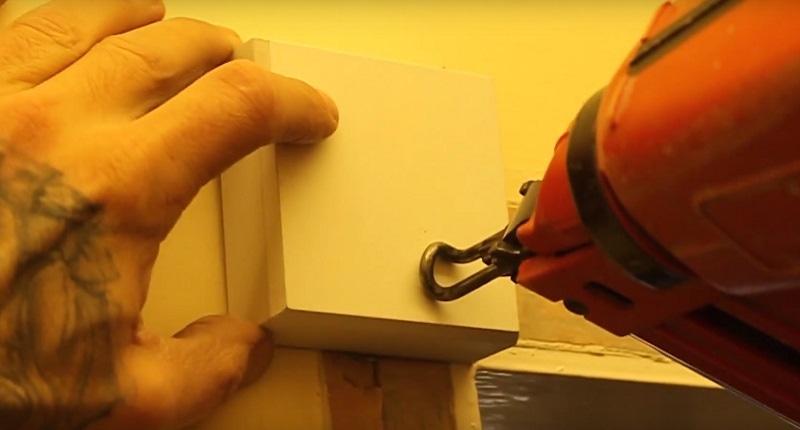
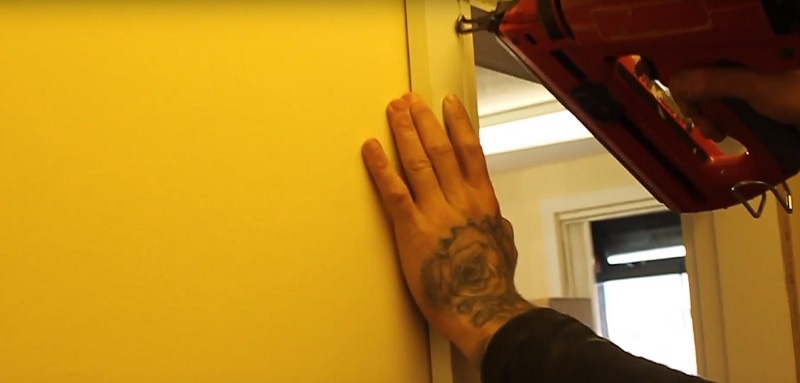
Installing a plinth block is really very simple. Apply an adhesive (such as Gripfill) to the reverse of the plinth block and hold firmly in position at the base of the door frame, so that the outer edge (closest to the door) is flush with the door frame and the top edge is level and not on a slant. Use a nail gun to place 2 pins through the face of the plinth block to properly secure it in position.
Tip: Fit plinth blocks and rosettes before fitting skirting board or architrave!
Installing Rosettes
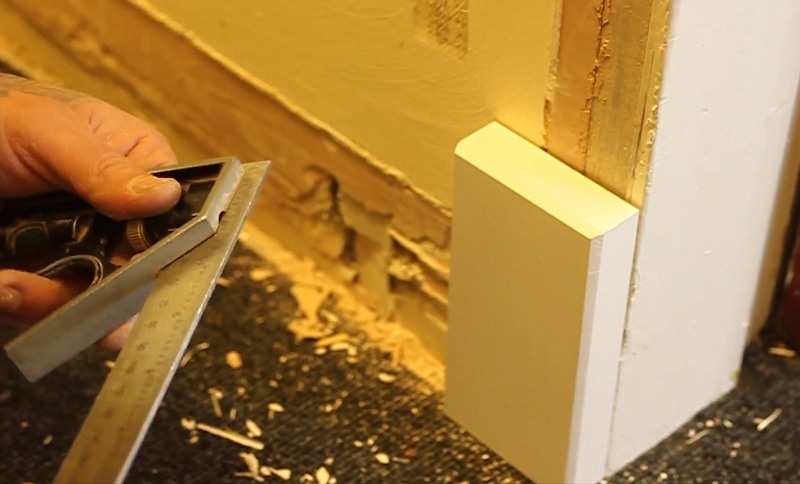
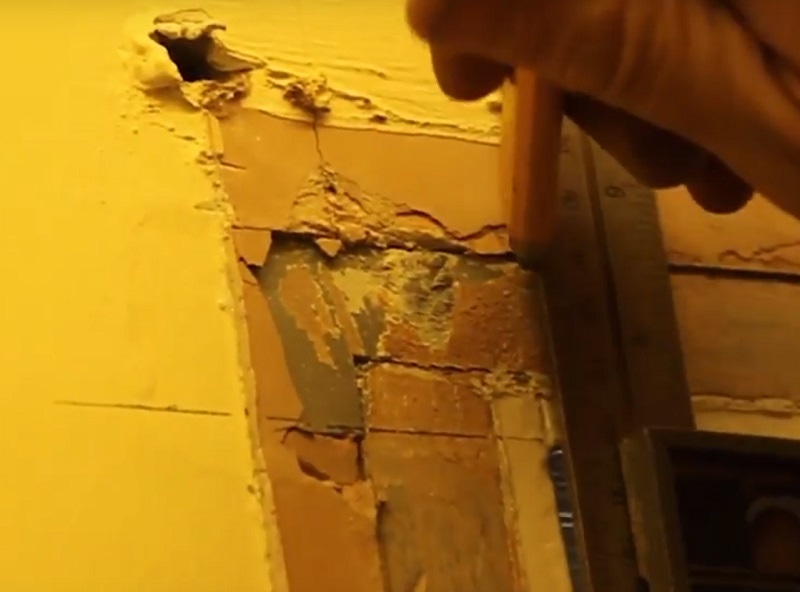
To position, the rosettes correctly, use a set square and pencil to extend lines vertically and horizontally from the upper corners of the door frame. These lines will act as guides so that the rosette can be properly positioned.
Again, apply adhesive to the reverse side of the rosette and hold firmly in position. Follow up with a nail gun as before to secure the rosette in position.
Fitting Architrave Between Plinth Blocks and Rosettes
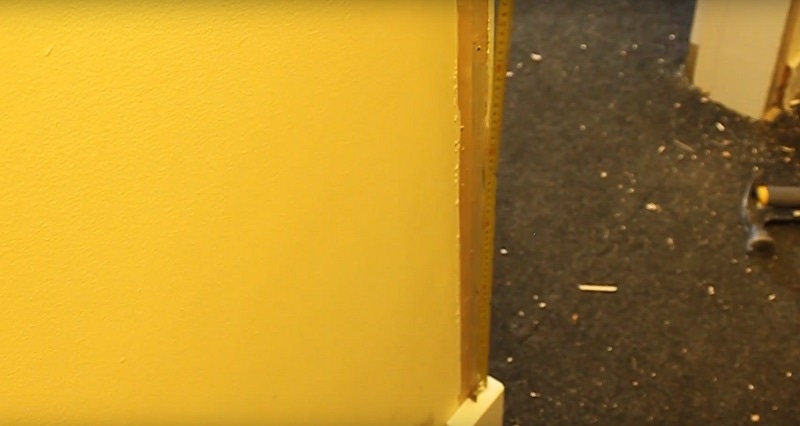
Although a straightforward process, fitting the architrave between 2 fixed points (the plinth and the rosette) does mean you have to be super accurate when measuring the length of the architrave.
Using a tape measure, measure the distance between the bottom edge of the rosette and the top edge of the plinth block. It is crucial to do this as accurately as possible. If you don’t get this measurement correct, your architrave will either be too big to fit in the space or too small- either wasting the length of
Once you have the correct measurement, mark the piece of architrave where it needs to be cut, and trim it to size accordingly. Take this piece and hold it in position to double check that it fits in position correctly. Assuming everything has gone to plan and the architrave is the correct size, fix the architrave in position using adhesive and nails as you usually would.
Tip: Remember that the architrave should sit 5mm inside the door frame. This will centralise the architrave on the plinth block and rosette for a more aesthetically pleasing look. (If you are unsure how to do this check out our more comprehensive blog post on how to fit architrave HERE).
About the Author
Kieron Miller is the Managing Director of Skirting 4 U and has been working in the skirting board and online retail industry since 2012. Kieron has been using his extensive product knowledge and problem-solving experience to help both trade and private consumers all over the country find the perfect skirting board products for their projects. He continues to innovate new solutions and product ideas as the market continues to grow.