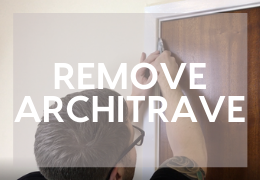
Removing architrave is not a difficult job,
Removing Architrave Video Guide
Removing Architrave Step by Step
Before you begin to remove architrave from your doors, make sure the area is clear. If you have had any kind of cables running along the outside of the architrave ensure these are completely removed and out of the way before beginning.
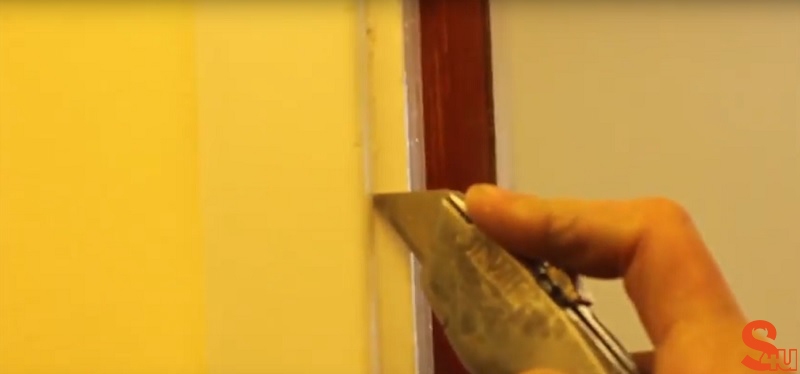
The first step in removing architrave is to split any decorators caulk that has been used to seal the architrave in place when it was initially fitted. To do this, take a Stanley knife and run the blade along the caulk with enough pressure so as to pierce through the caulk with the blade. Continue slicing the caulk all the way around the architrave, both on the outside and inside of the architrave.
The next task is to begin to prise the architrave away from the wall, using a chisel and hammer. It is important that you approach the architrave from the inside (nearest the door) rather than the outside so as to minimise the risk of damage to the underlying plaster. Doing it this way means that any damage you do cause will be easily covered up by the replacement architrave you will install in its place.
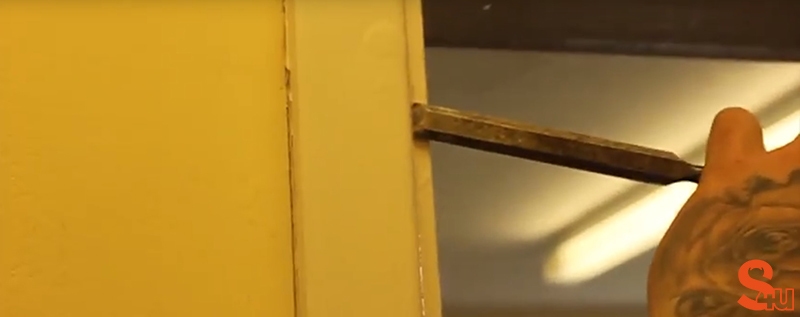
Place the chisel in the gap created between the wall and the architrave when you sliced the caulk. Use the hammer to get the end of the chisel further behind the piece of architrave you are removing. This will begin to pull the architrave away from the wall.
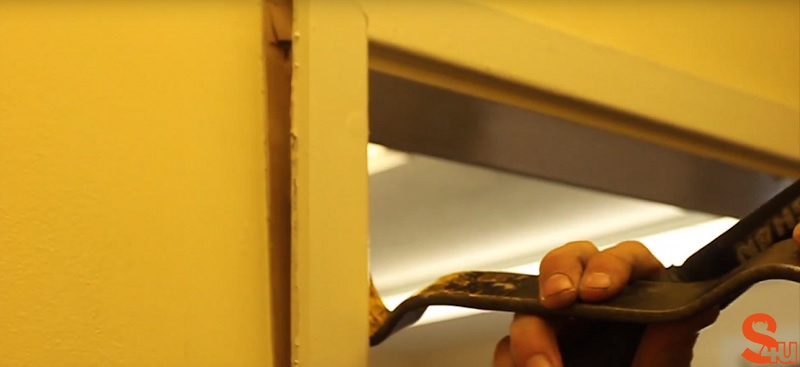
Grab a crowbar and insert it between the architrave and the wall- again on the inside as you did in the previous step. Use the crowbar to gently lever the architrave further away from the wall, starting near the top of one of the upright sections of architrave and slowly moving down the length. You will notice more resistance in the areas that have been fixed with nails, so adjust the force with which you operate the crowbar to pull these nails out from the wall with the architrave. Be careful not to injure yourself on any exposed nails!
These steps can be repeated for the header piece and the second upright. When removing the header piece (or crossbar) you may find it easier to use a step or step ladder to give you extra height in order to get the leverage required to pull the architrave away from the wall.
After you've removed the architrave, we have guides on how to fit architrave for a number of different situations.
How to fit architrave close to the wall
How to fit grooved skirting board and architrave
How to fit architrave to an uneven door frame
About the Author
Kieron Miller is the Managing Director of Skirting 4 U and has been working in the skirting board and online retail industry since 2012. Kieron has been using his extensive product knowledge and problem-solving experience to help both trade and private consumers all over the country find the perfect skirting board products for their projects. He continues to innovate new solutions and product ideas as the market continues to grow.